MrStitch installs a Original Upholstery kit to be just like back in the Day!
for Z/28 CAMARO OWNERS ONLY!
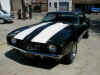
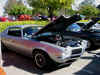
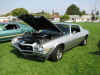
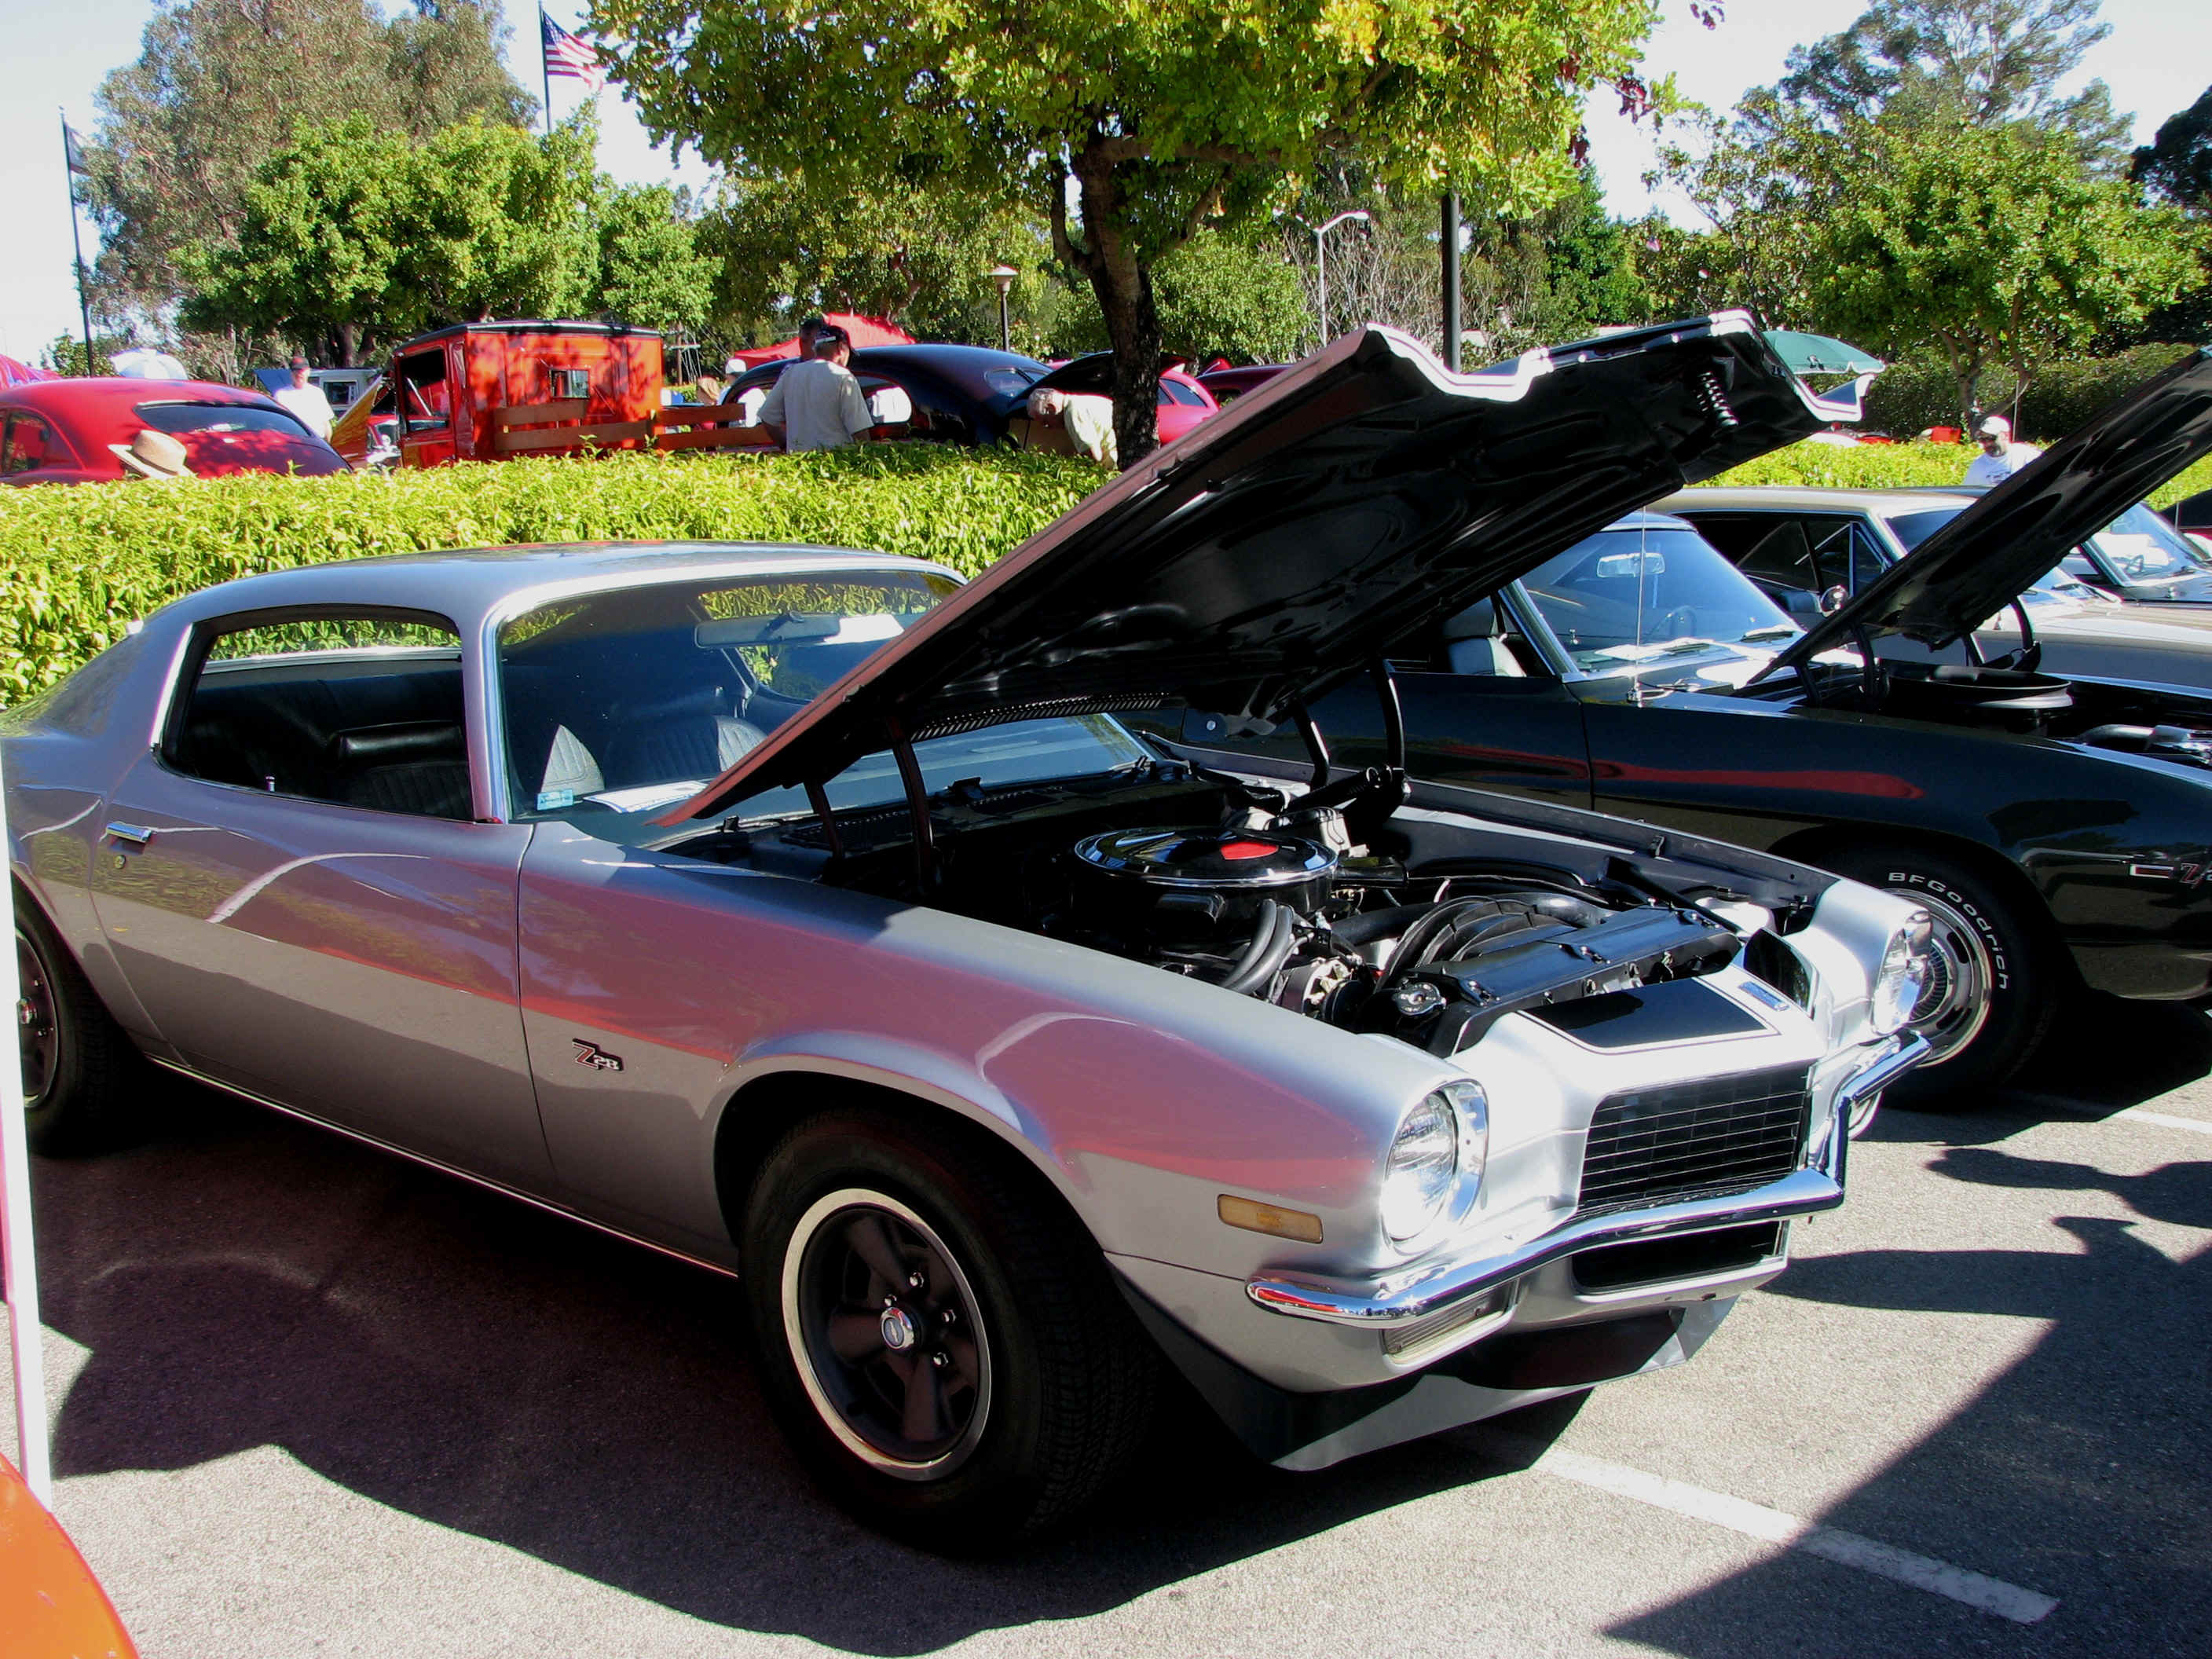
The mrstitch Z/28 interior stood toe to toe with with to best interiors shown at many car shows!
See mrstitch at the 2008 Palo Alto Concours D`Elegance at Stanford

New! MrStitch Z/28 OEM Upholstery Kit install
See the Car Shows this Z/28 has been to:
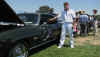
The Forty Second Palo Alto Concours d`Elagance at Stanford University Sunday, June 22,2008
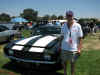
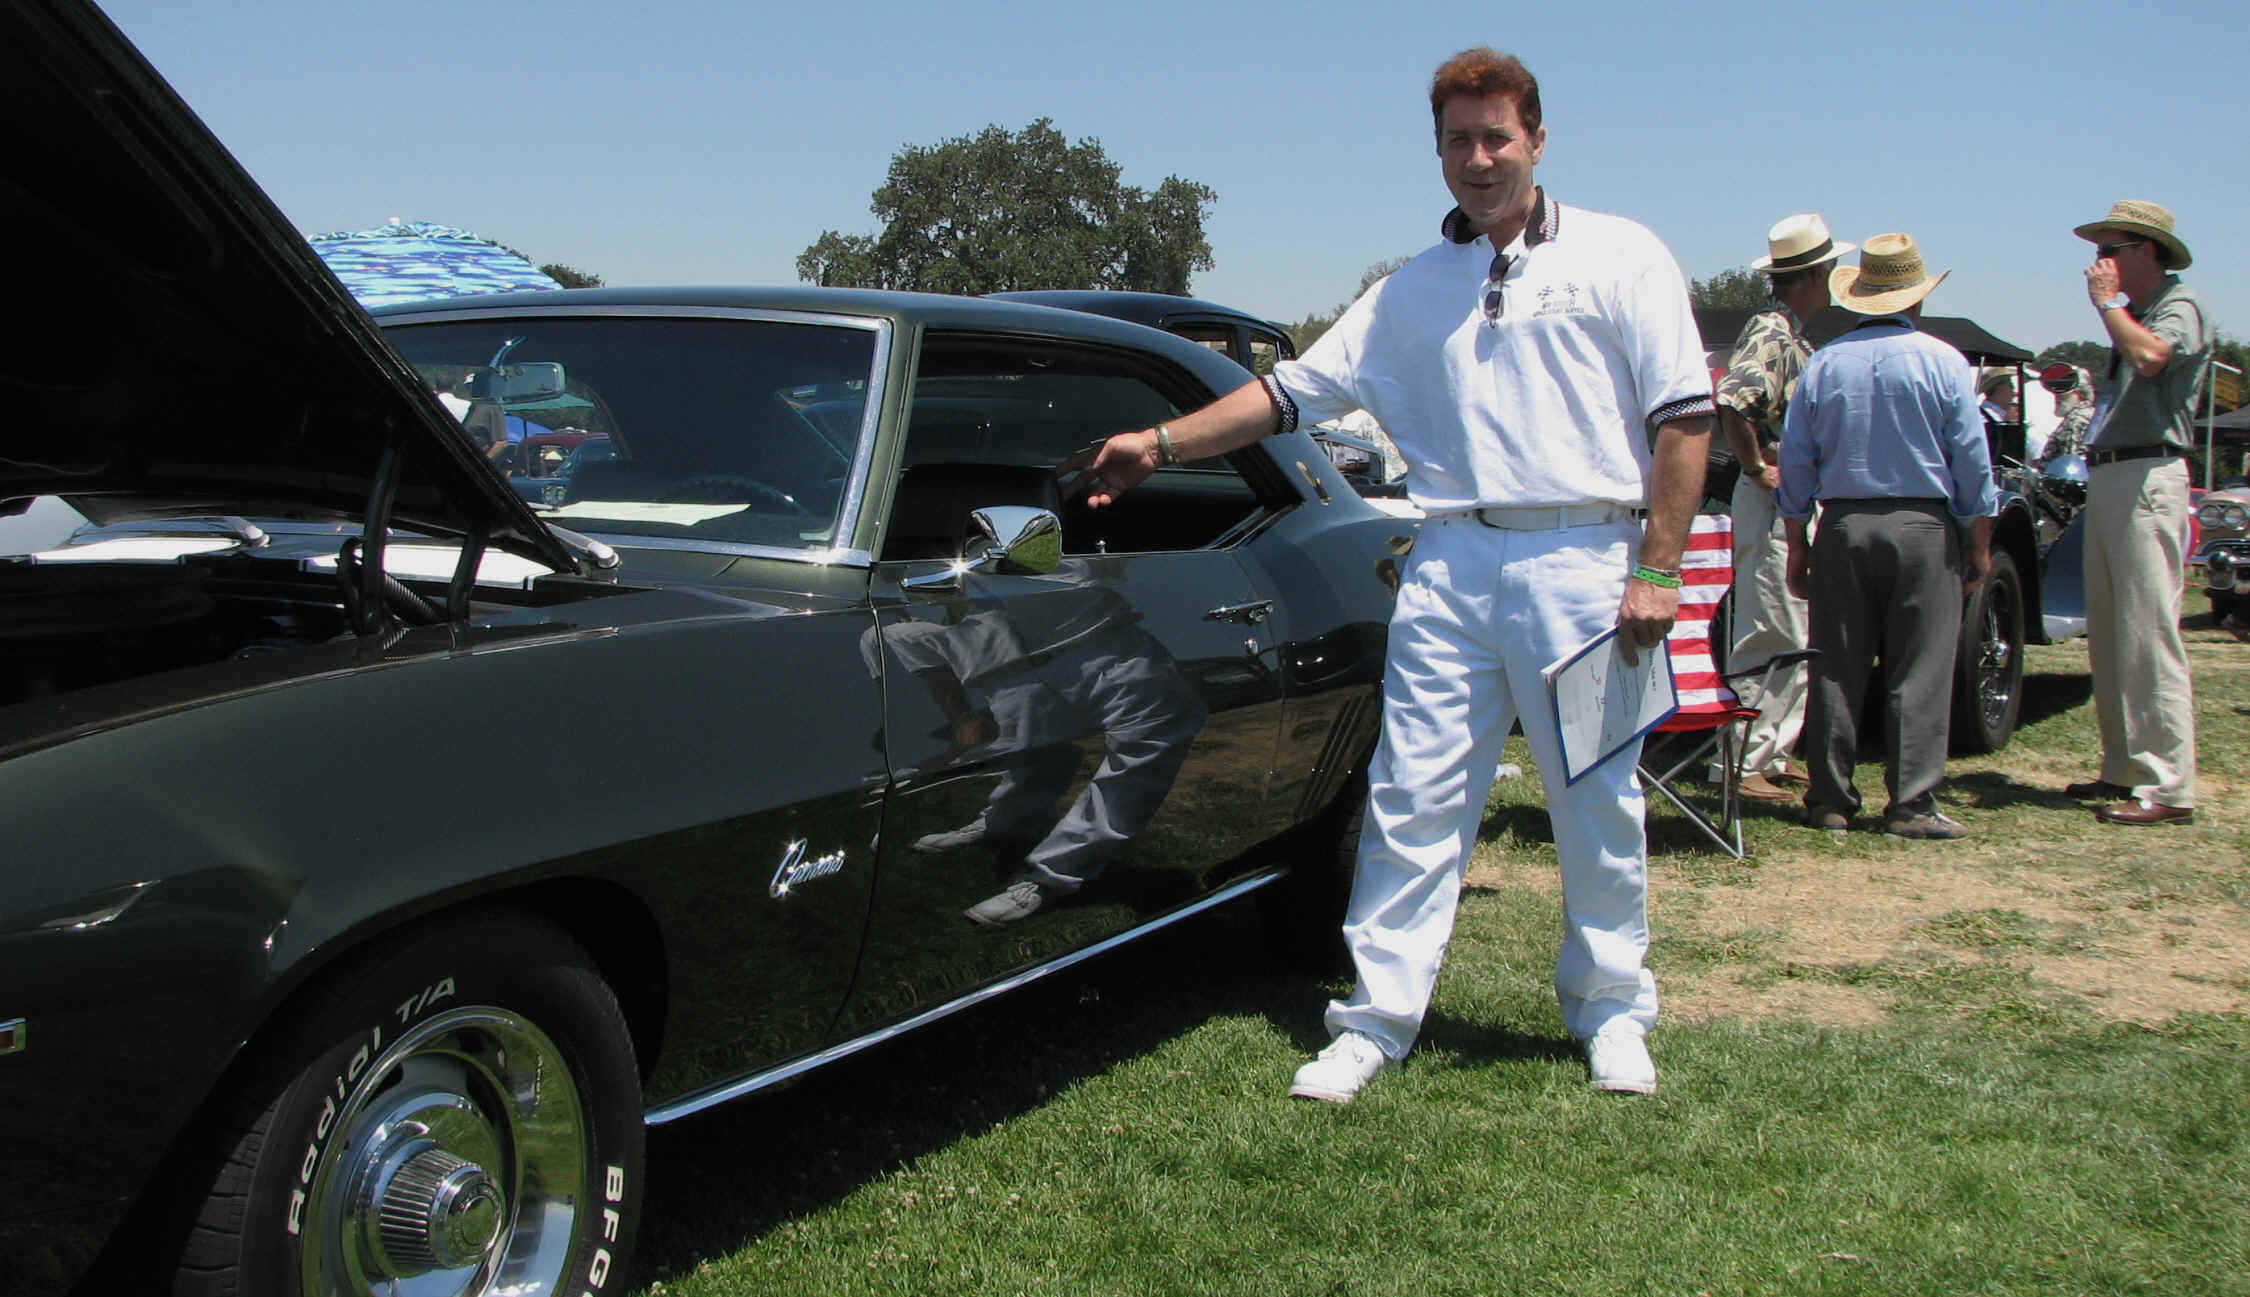
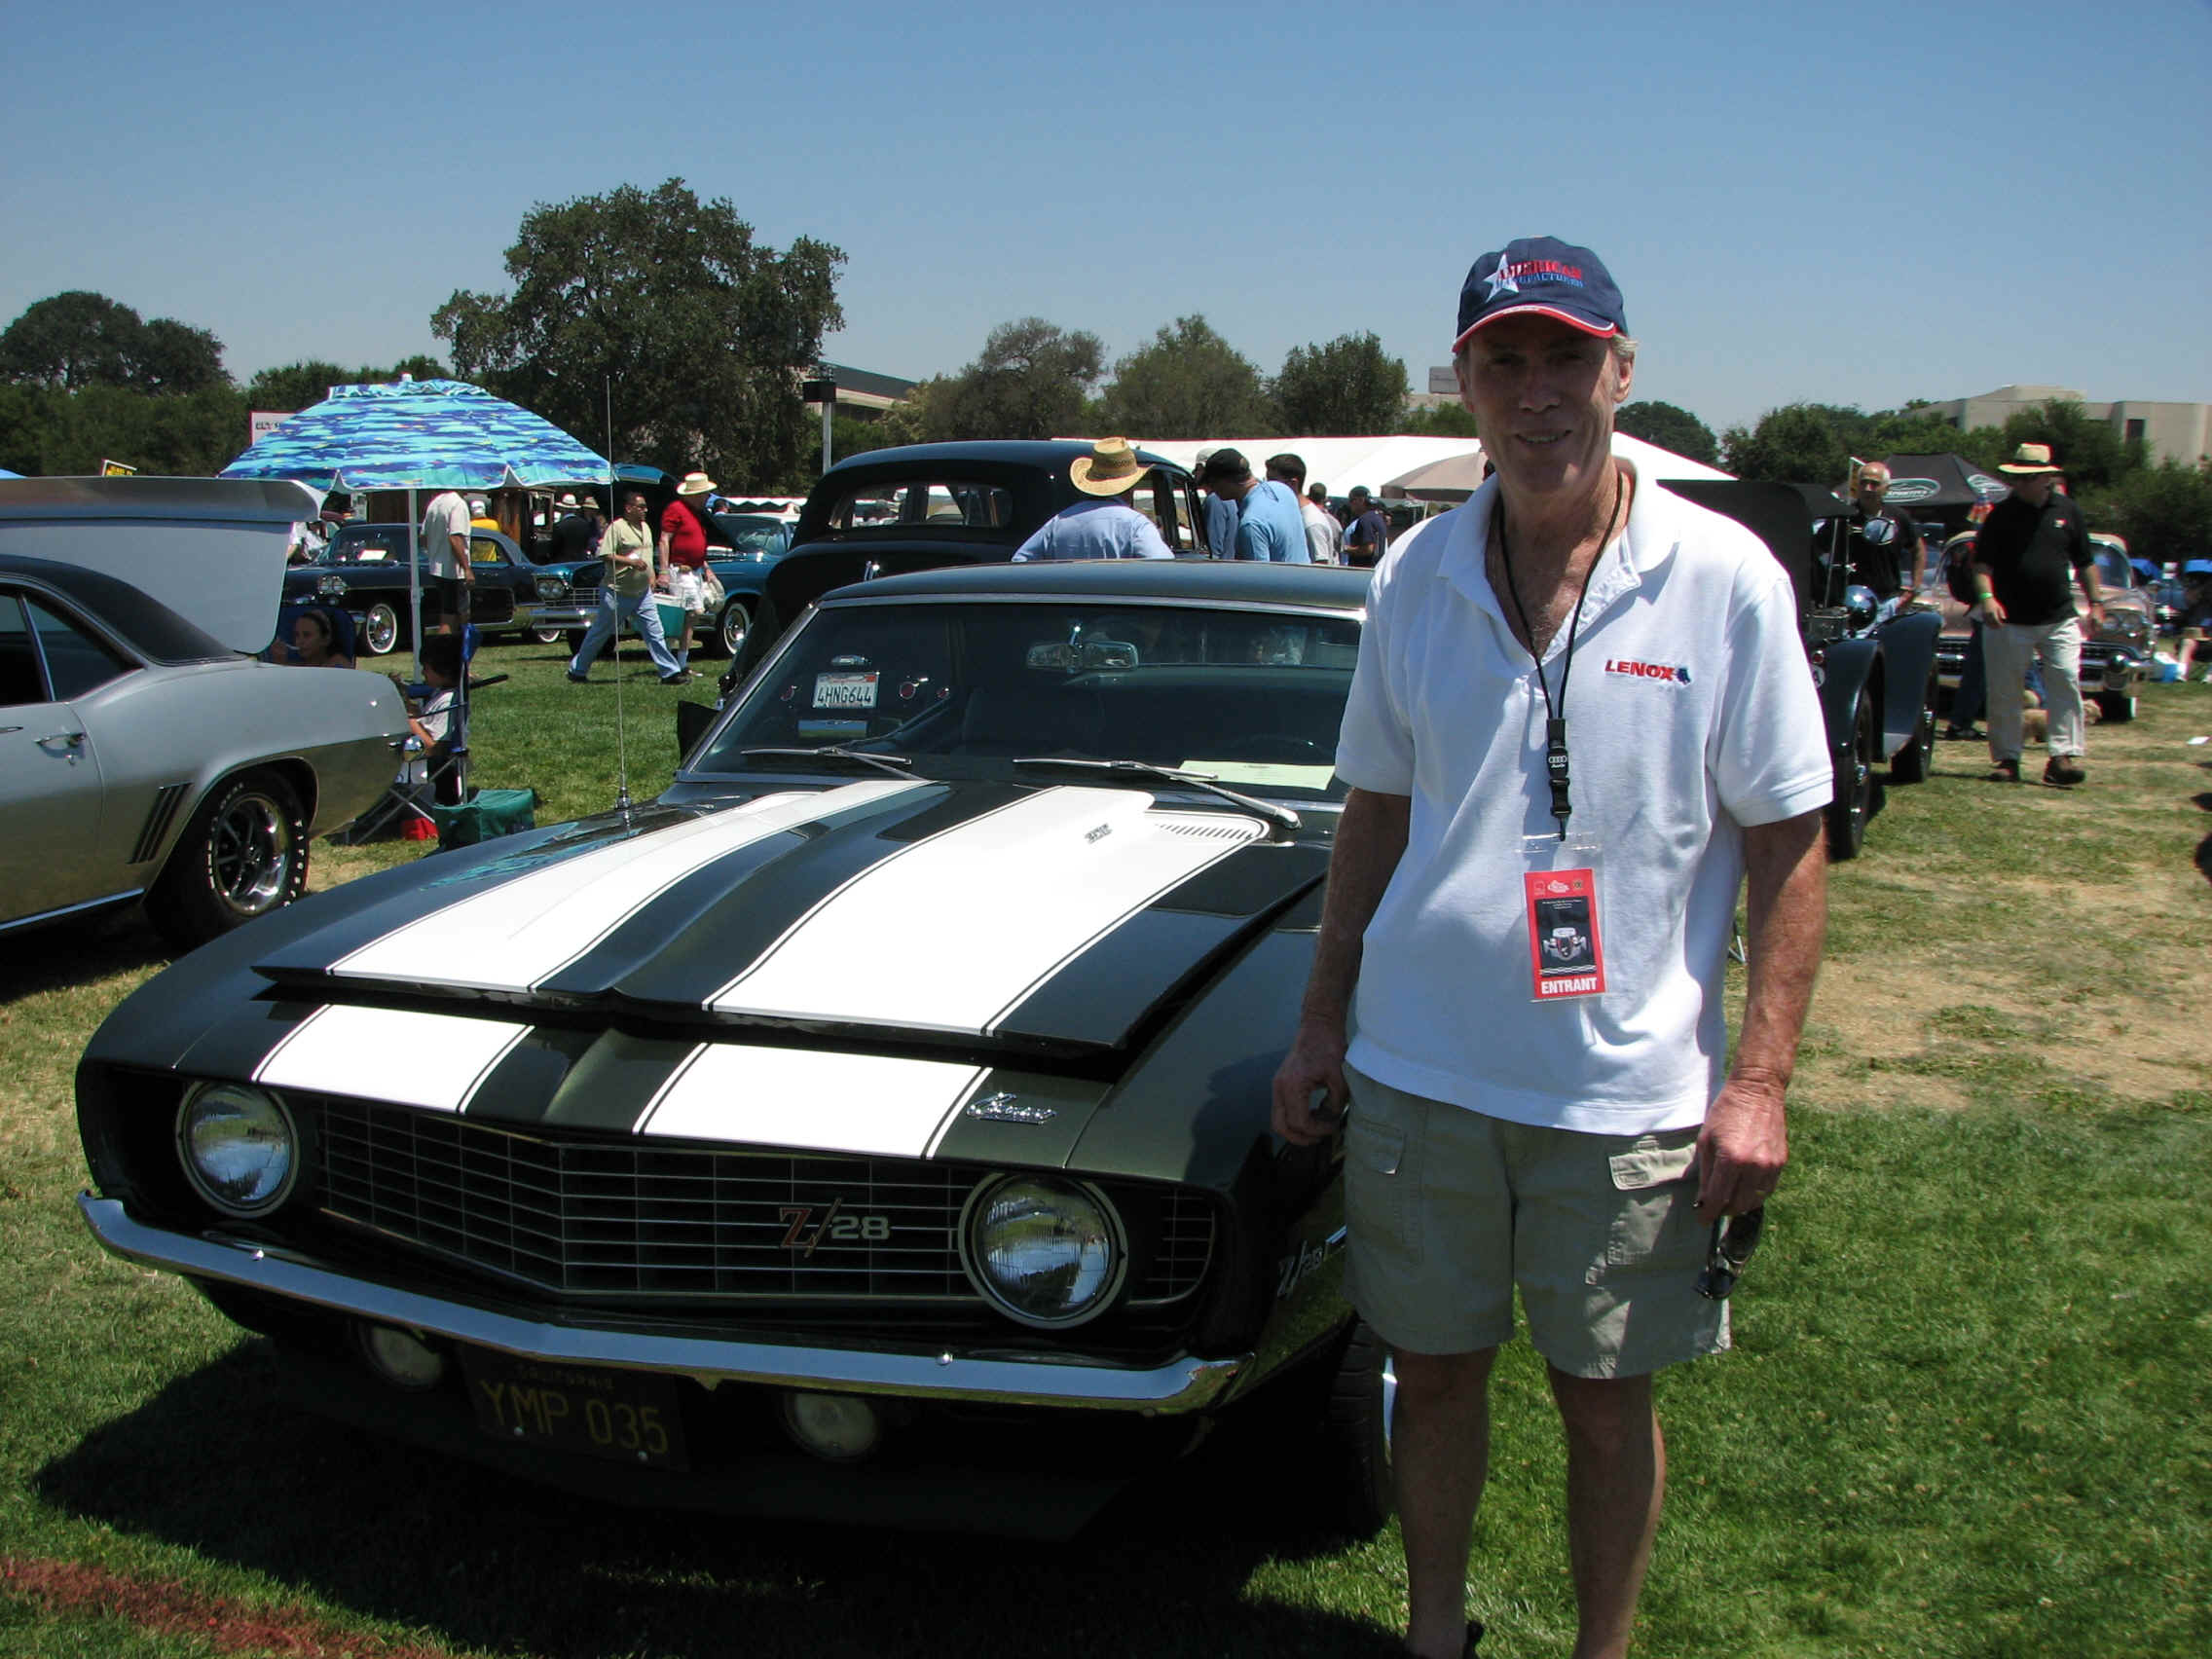
See owner of 1969 Z/28 John Campbell at the Concours
The 41st annual Palo Alto Concours d'Elegance
www.paconcours.com/ SUNDAY, JUNE 24, 2007
Car Crazy 12th Annual Car Show & BBQ 2007 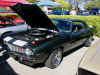

|
See the project in 07 we are working on
|
with help from
Auto Metal Svc.com
is painting the car with ppg materials
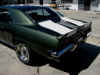
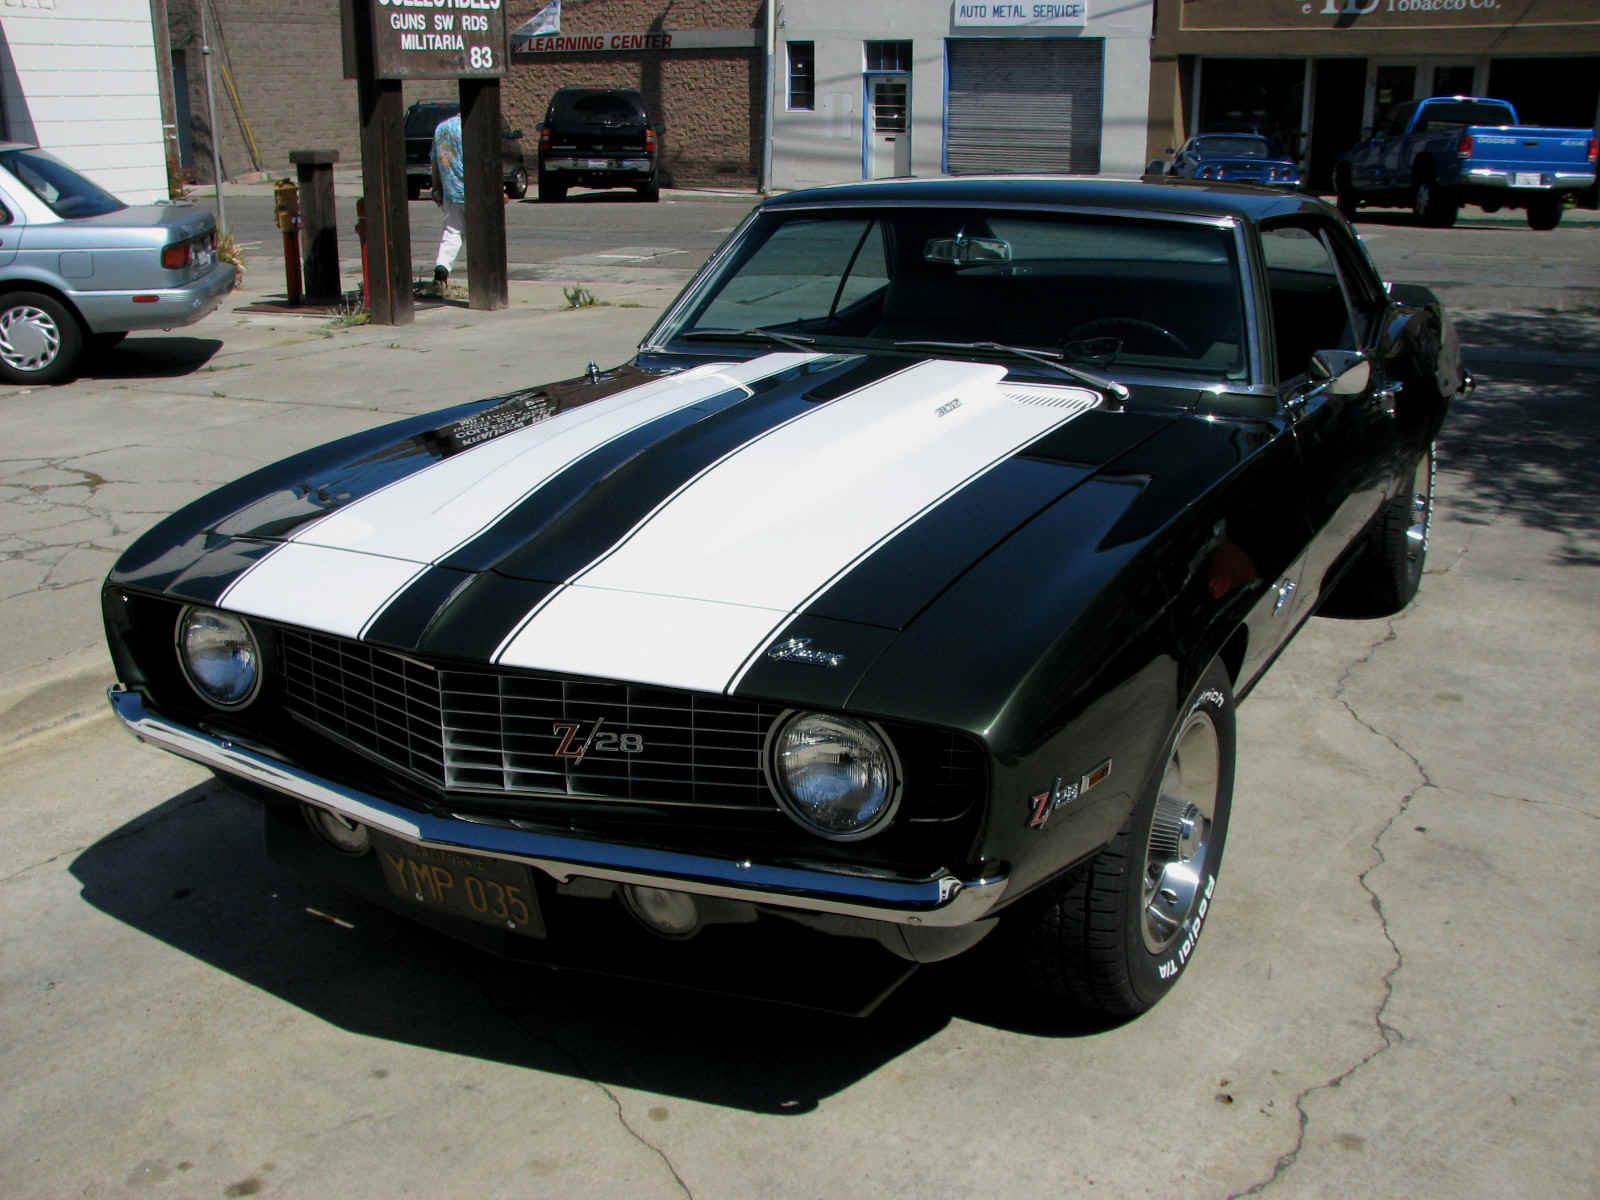
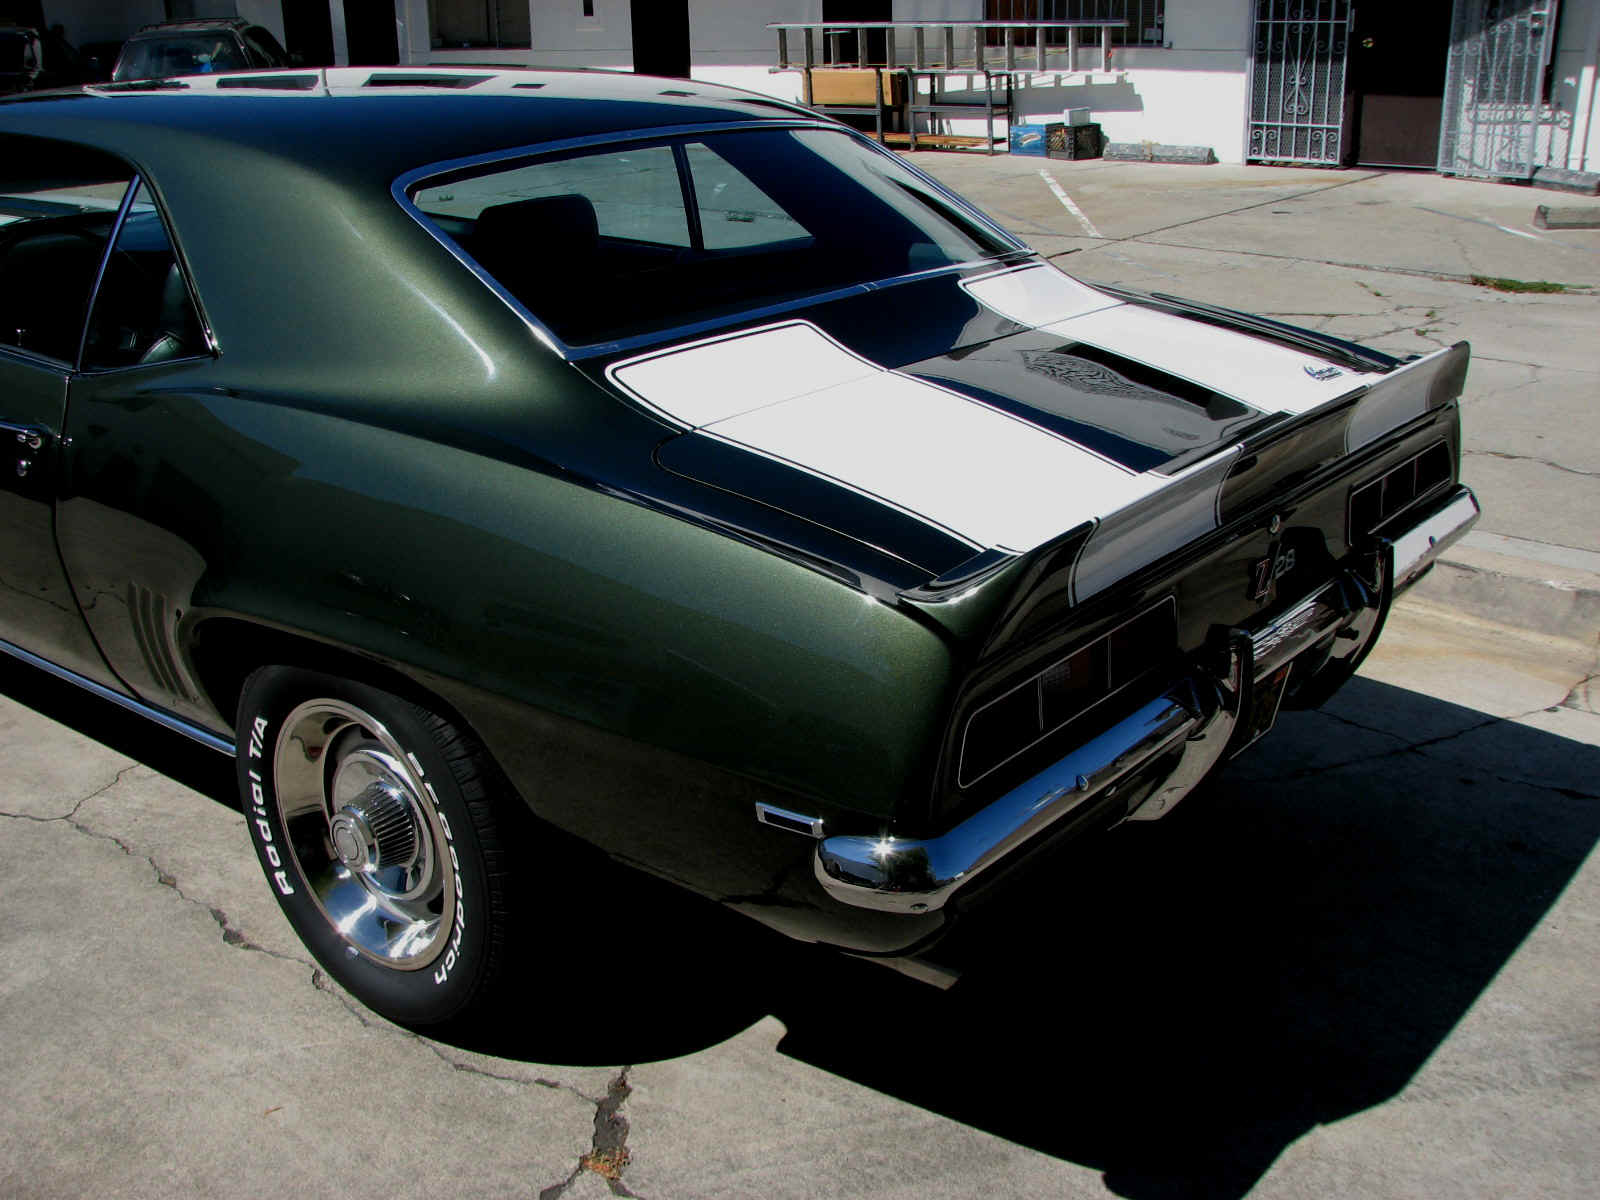
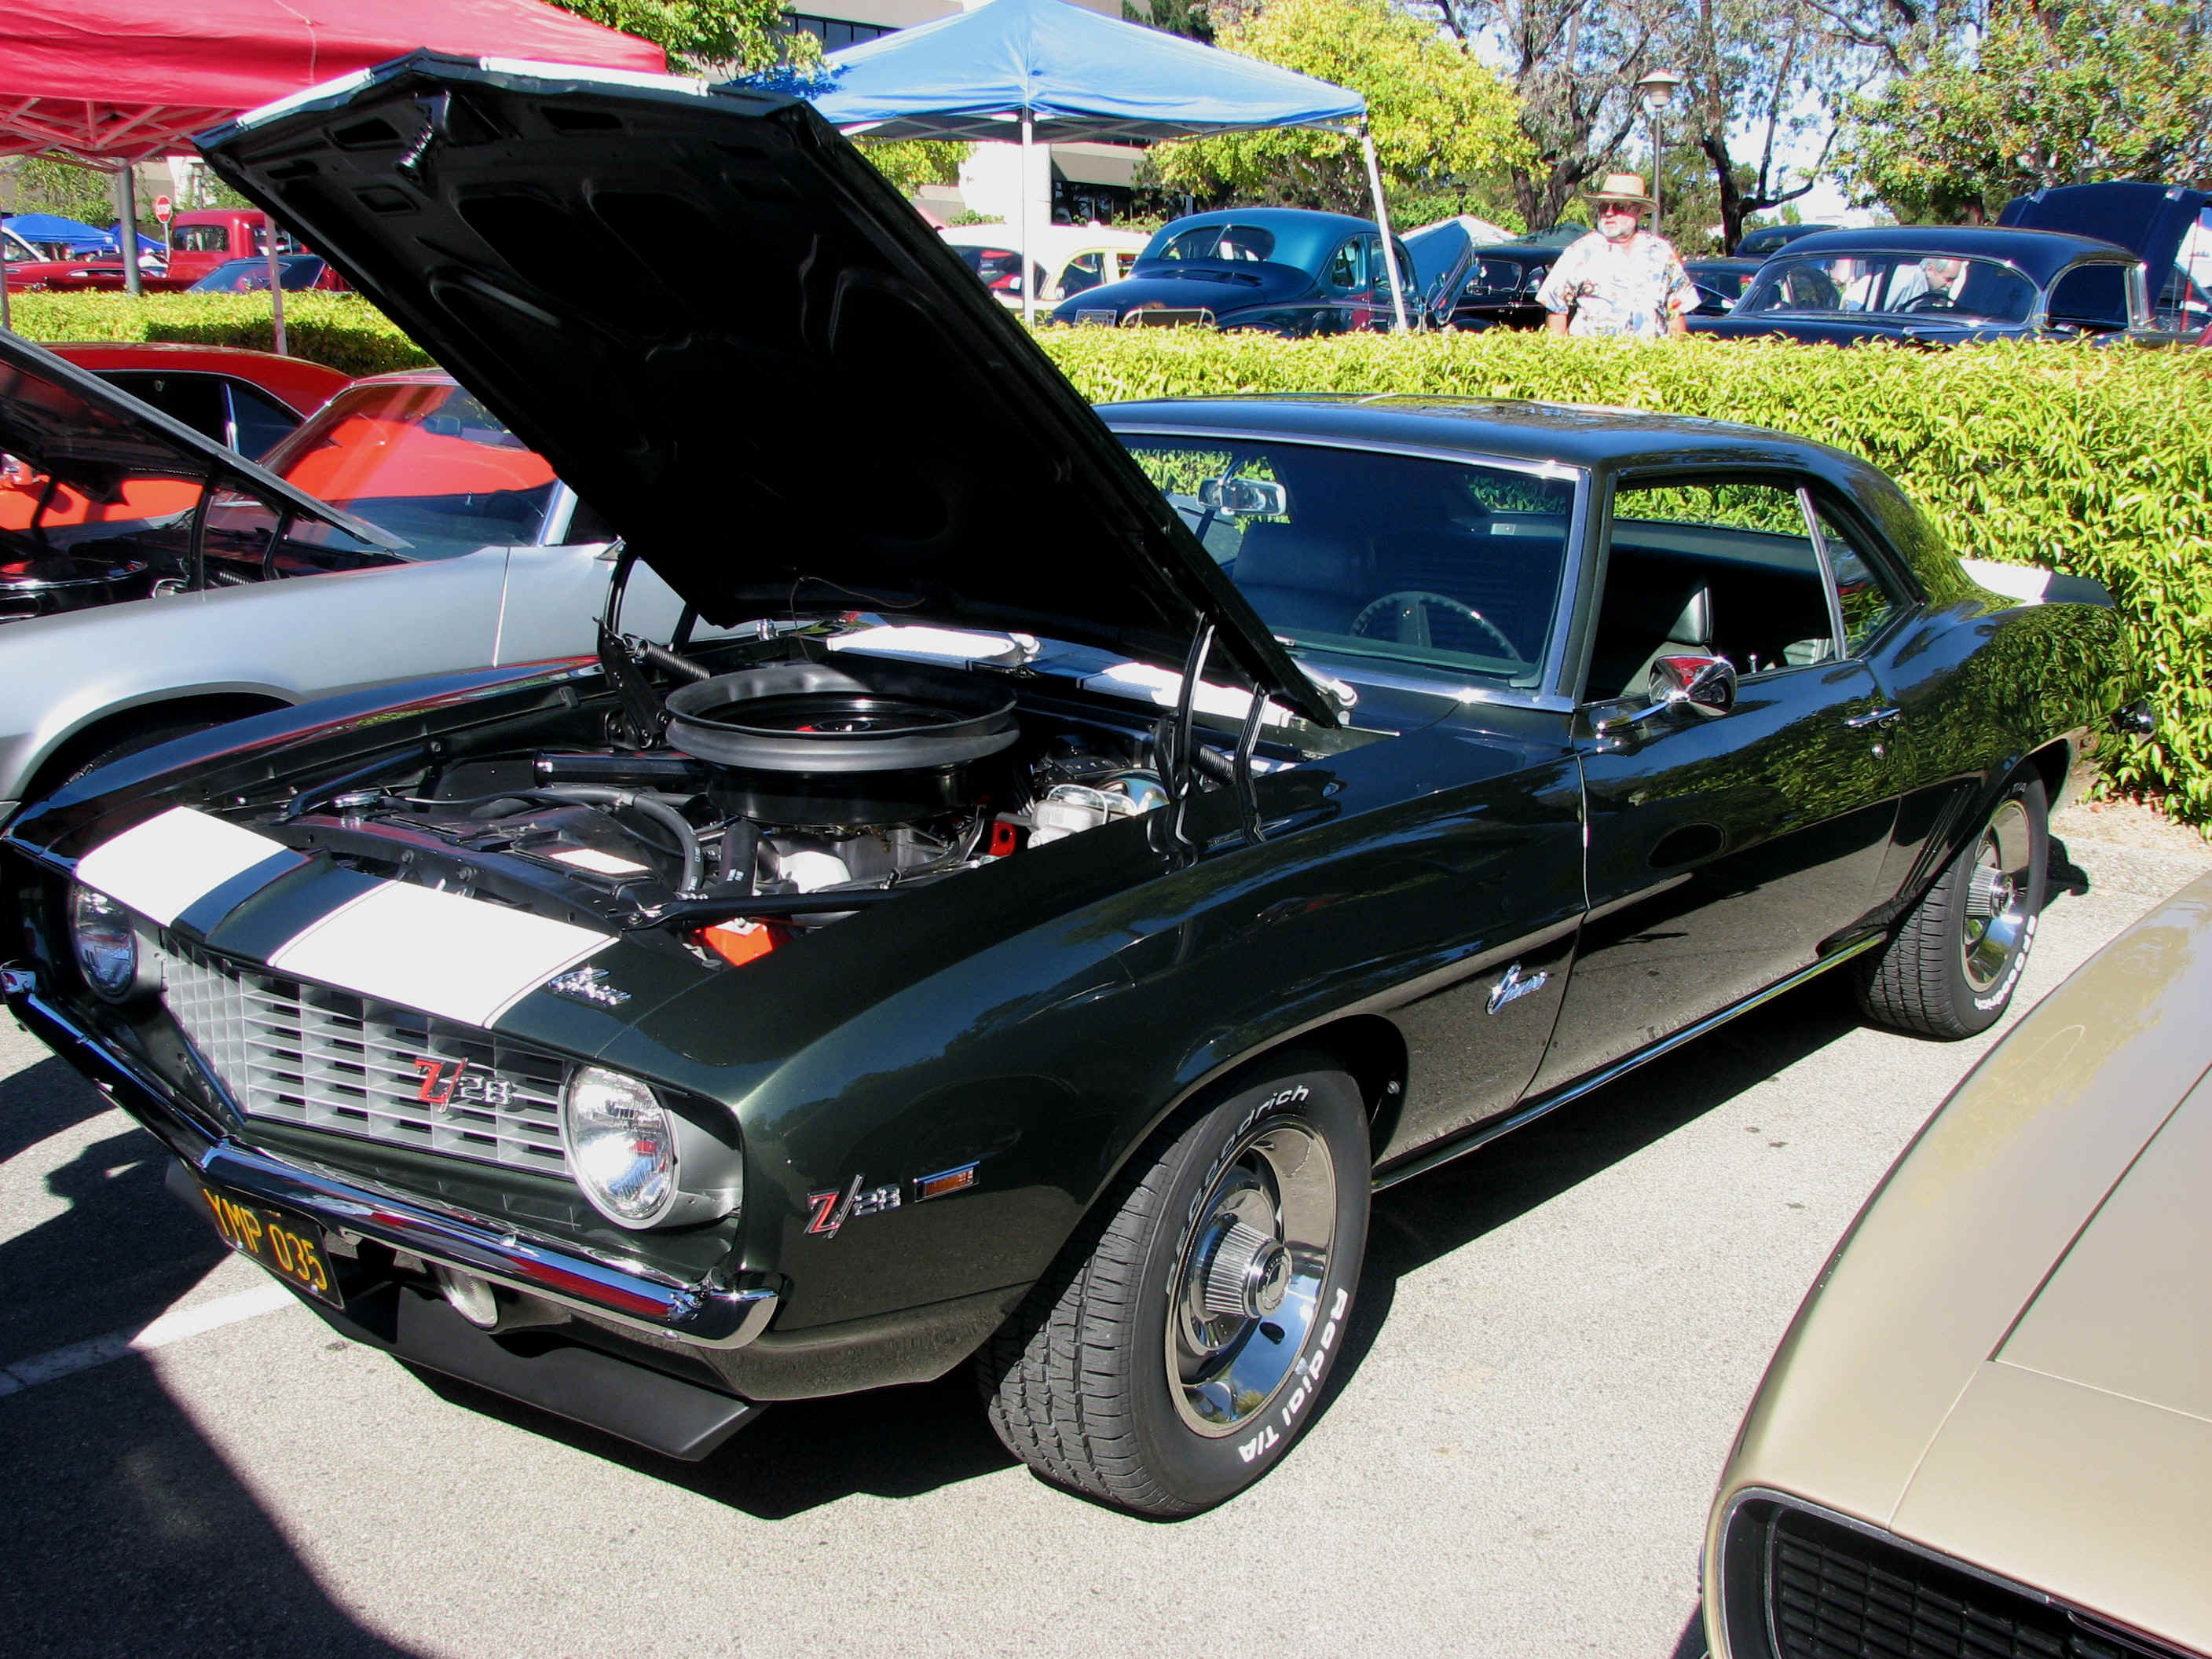
for John Campbell owner of the 1969 Camaro Z /28
The owner of this mean green 1969 OEM Z /28 is doing a complete restoration using the specs from vintage GM diagrams
and using the Kits and Trim parts supplied by
StevesCamaroParts.com
|
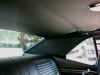
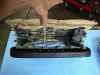
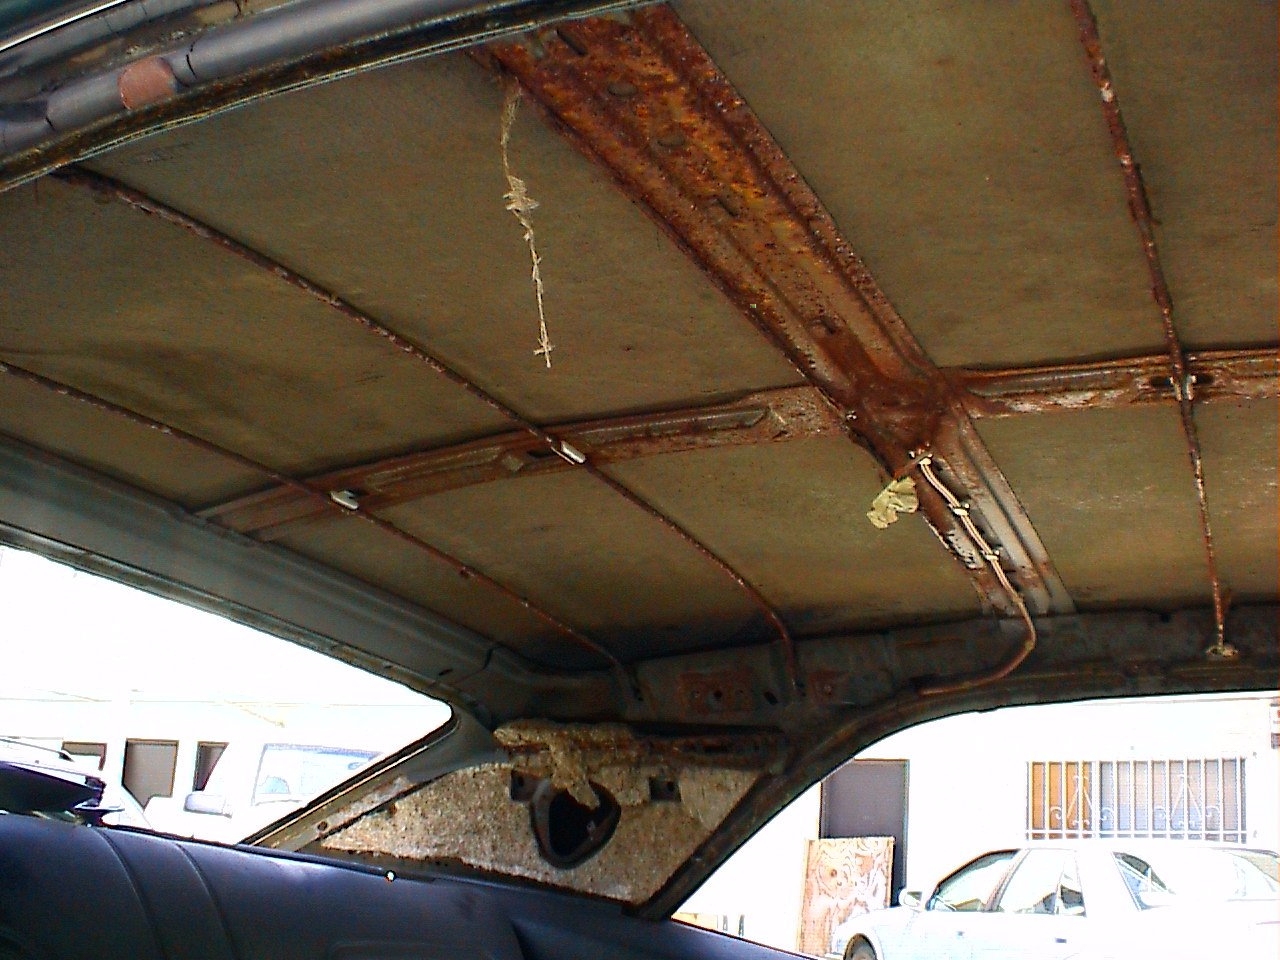
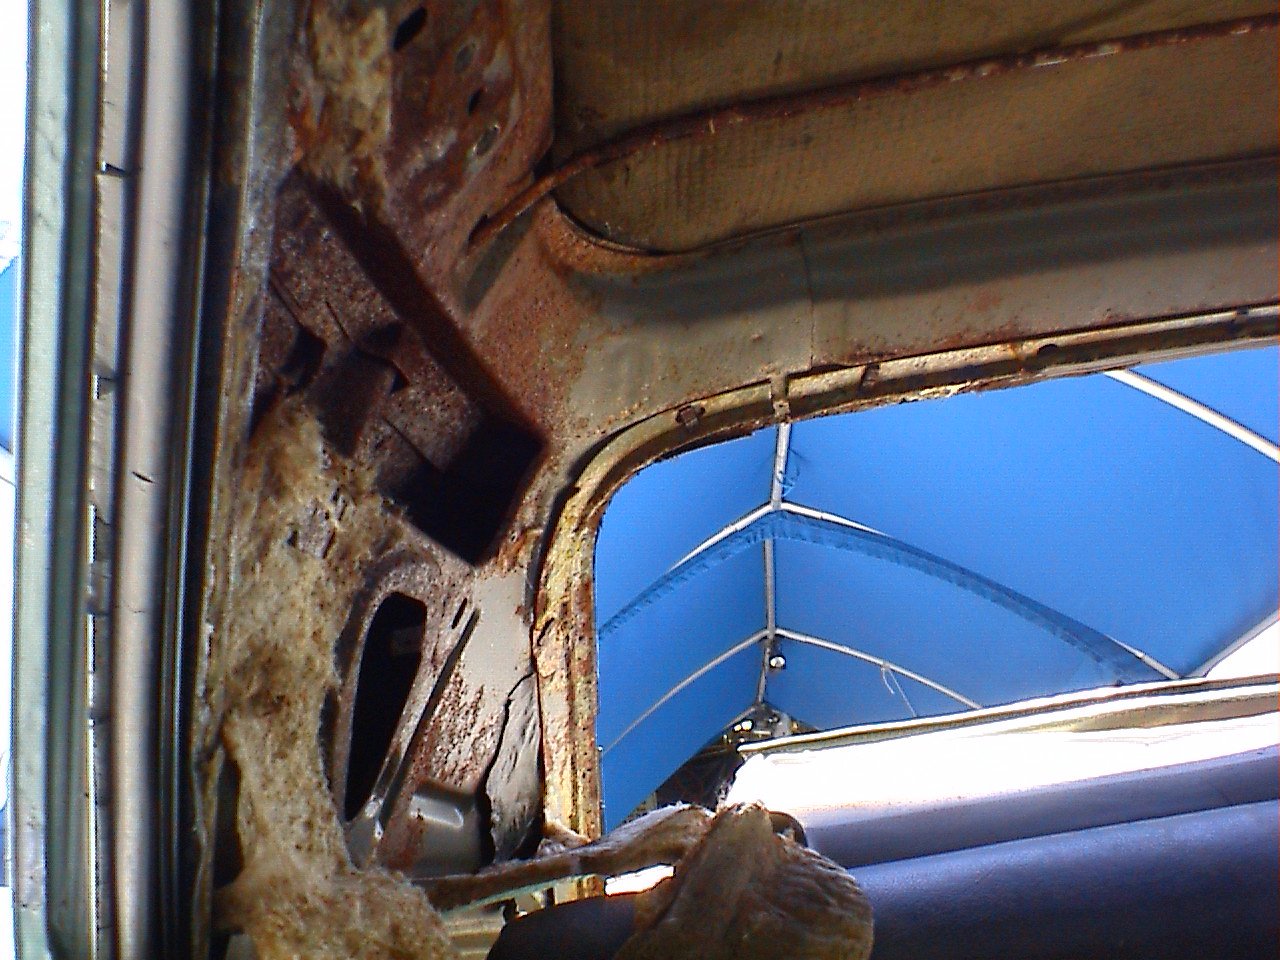
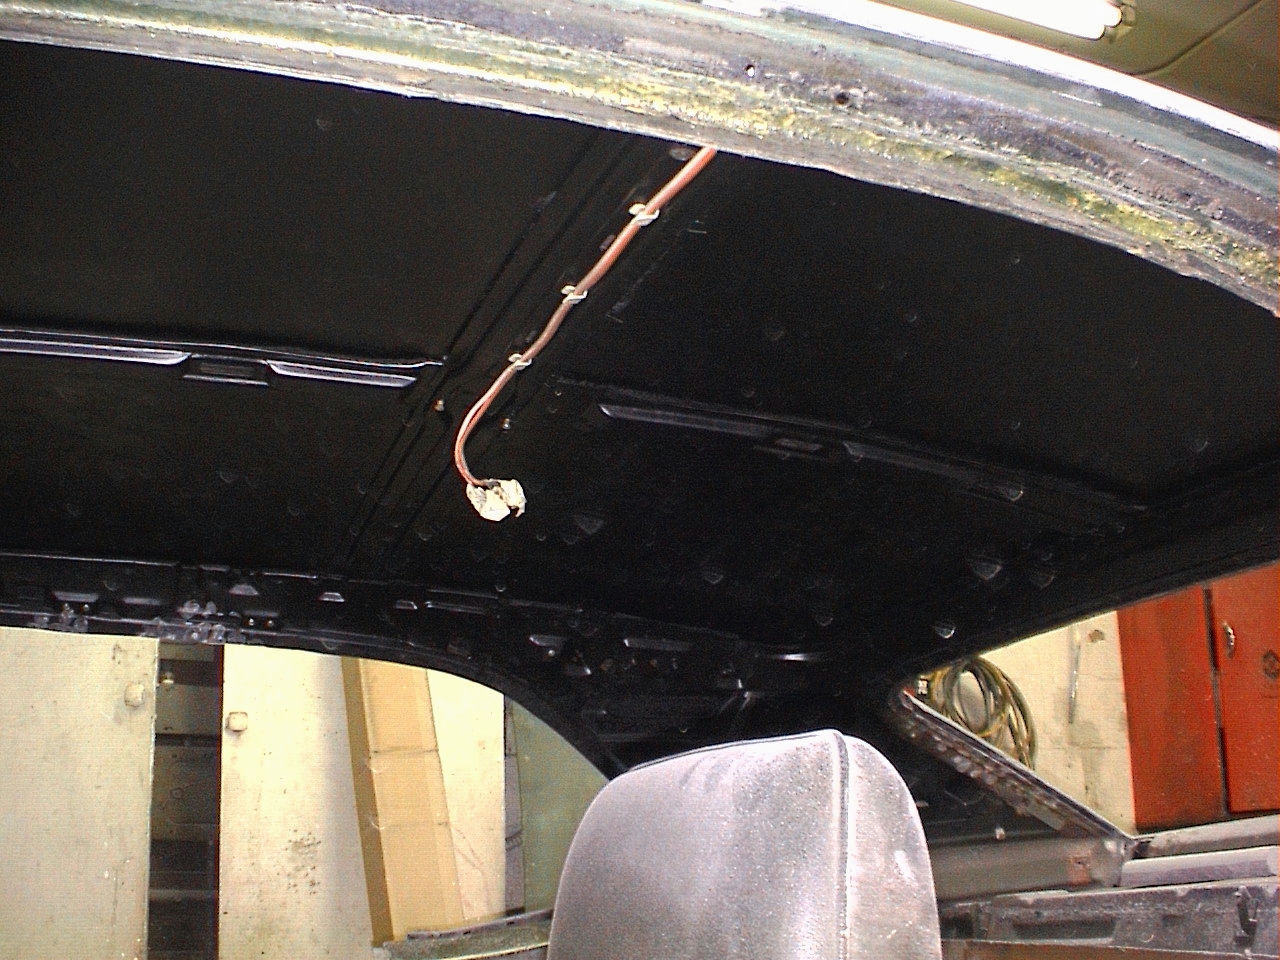
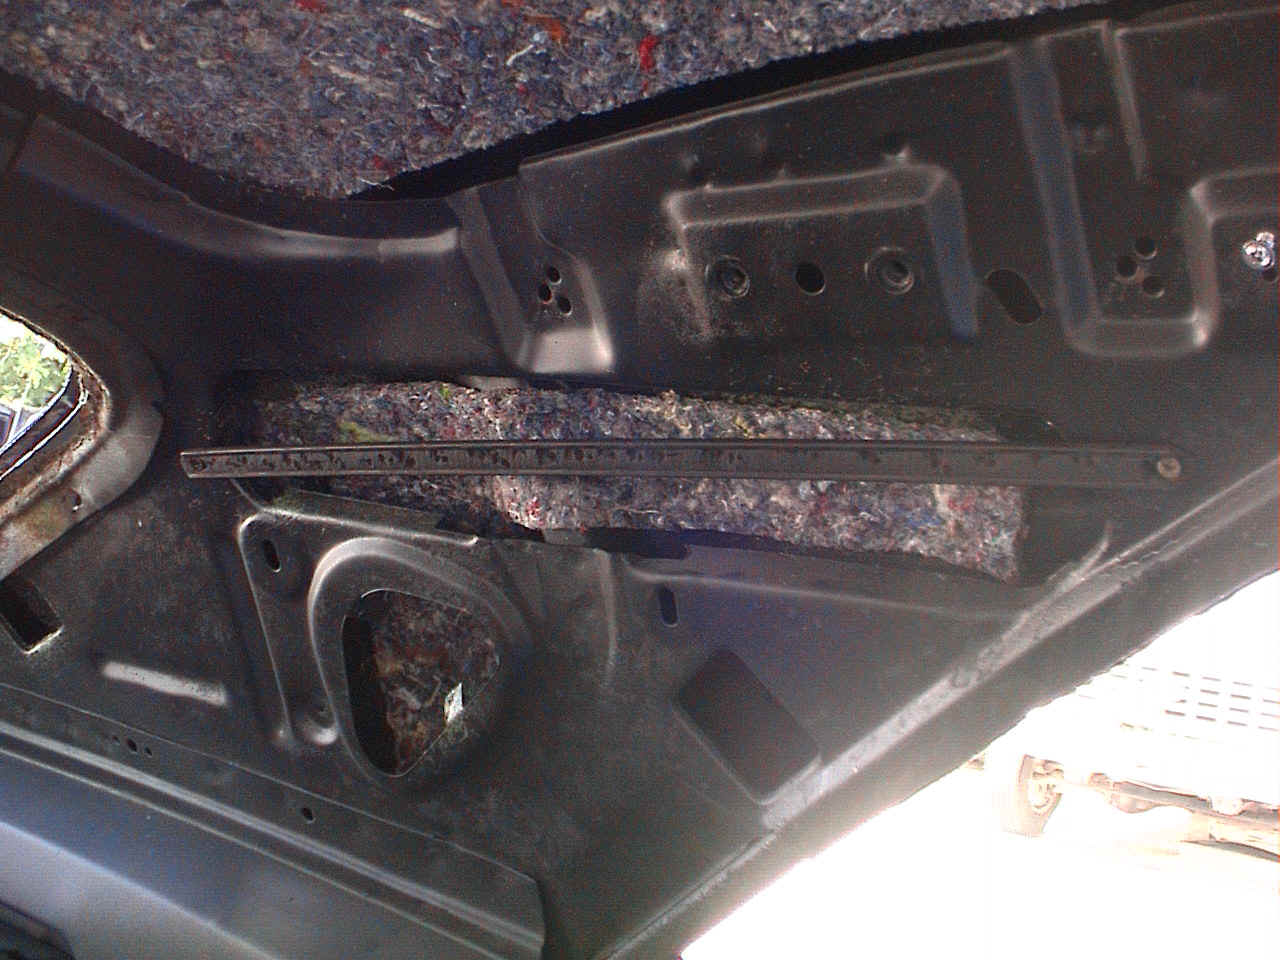
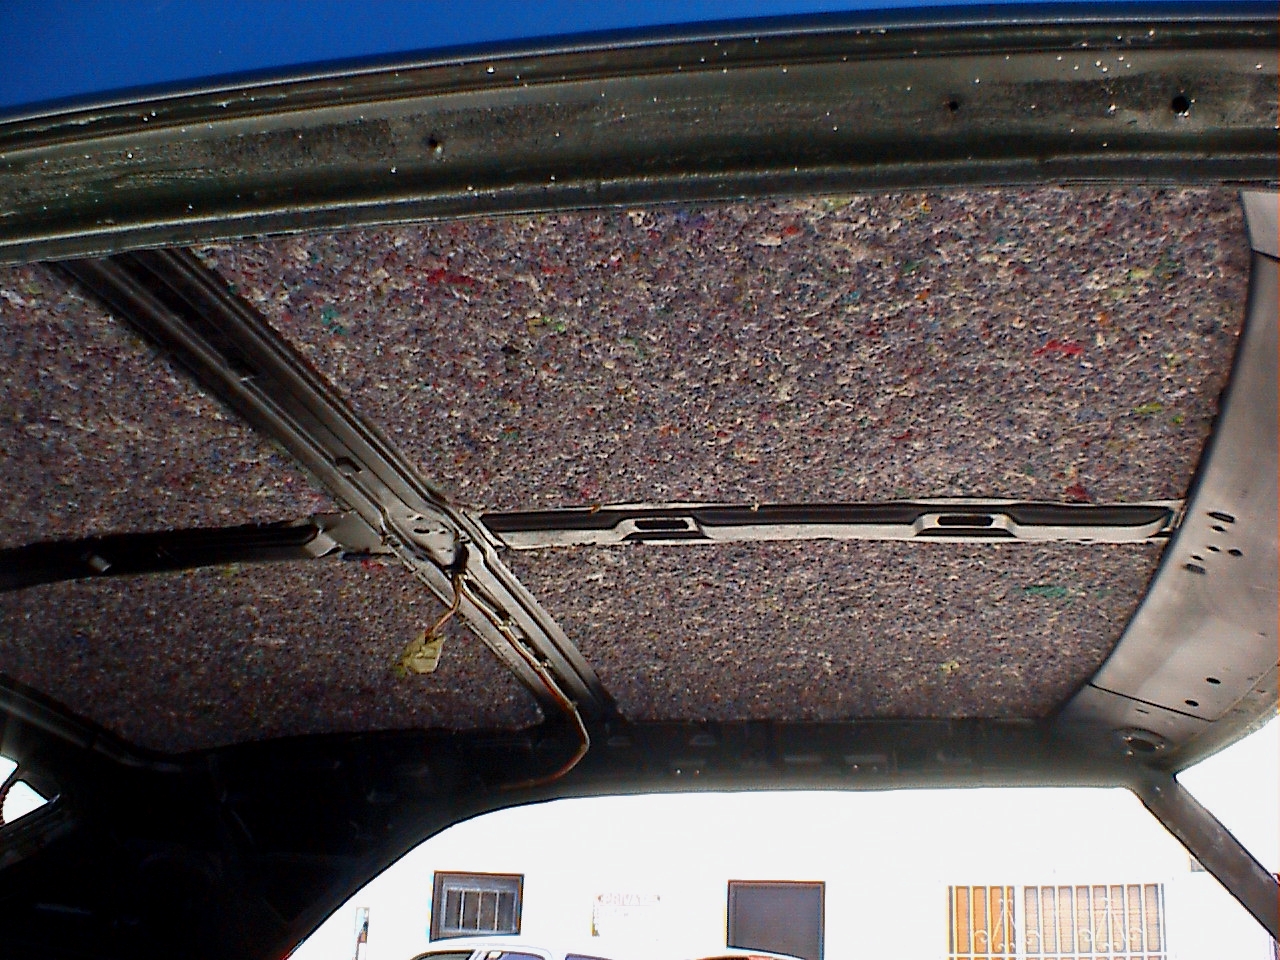
HEADLINER - Prep and install Work
when we removed the old oem headliner material
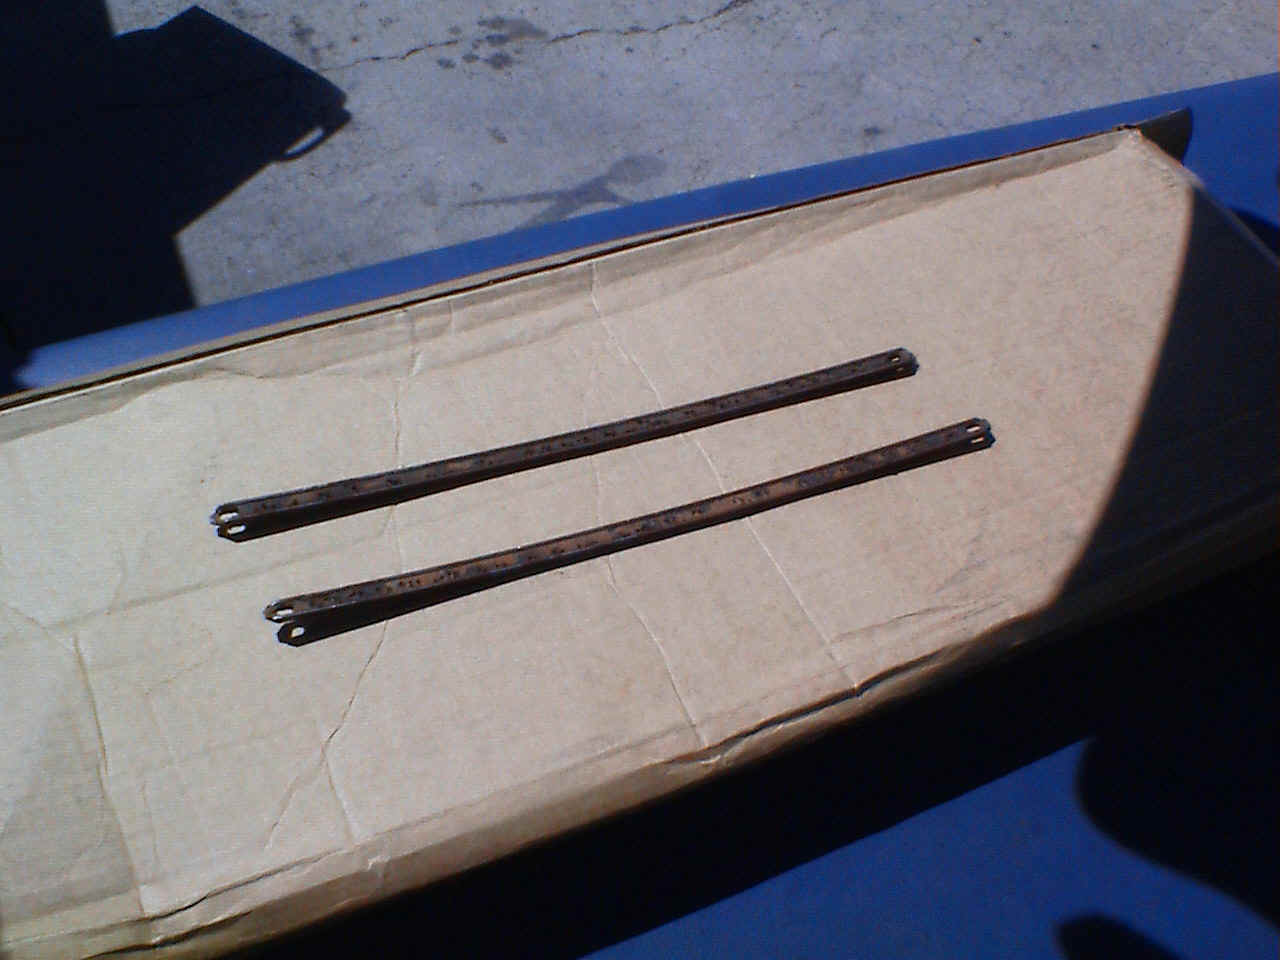
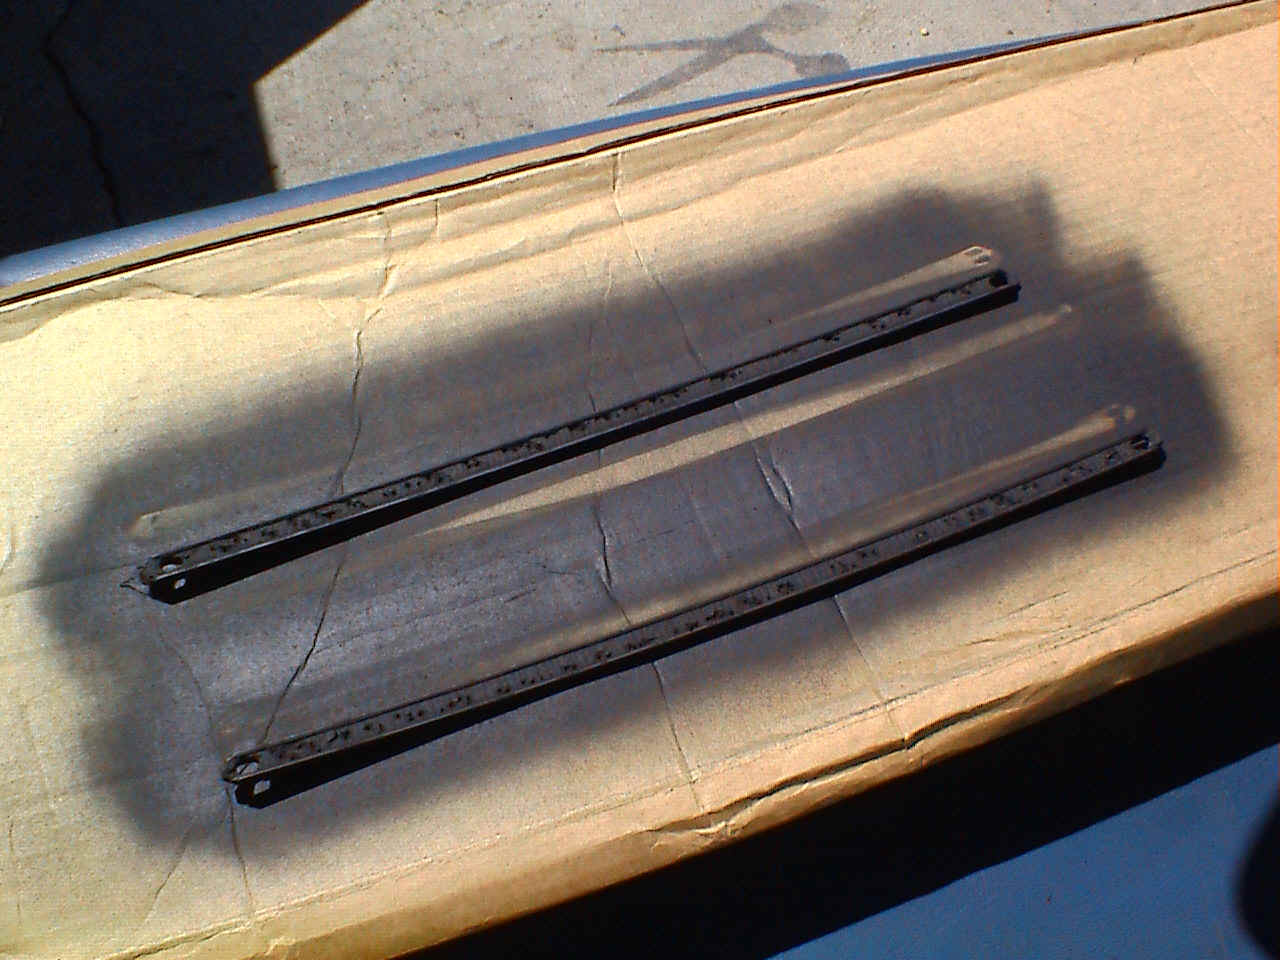
we found , the Bows and the old nasty pad needed to be replaced
customer purchased new bows to replace the old rusty parts and old pad that Jon at Auto Metal Svc removed.


see the new metal surface after Jon at auto metal did the dirty work removing the old roof pad
this took many hours cleaning the rust and spraying the new sealer

next new pad is glued to the roof sections and the quarters
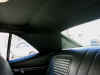
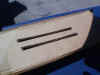
Finished Headiner
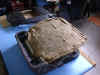
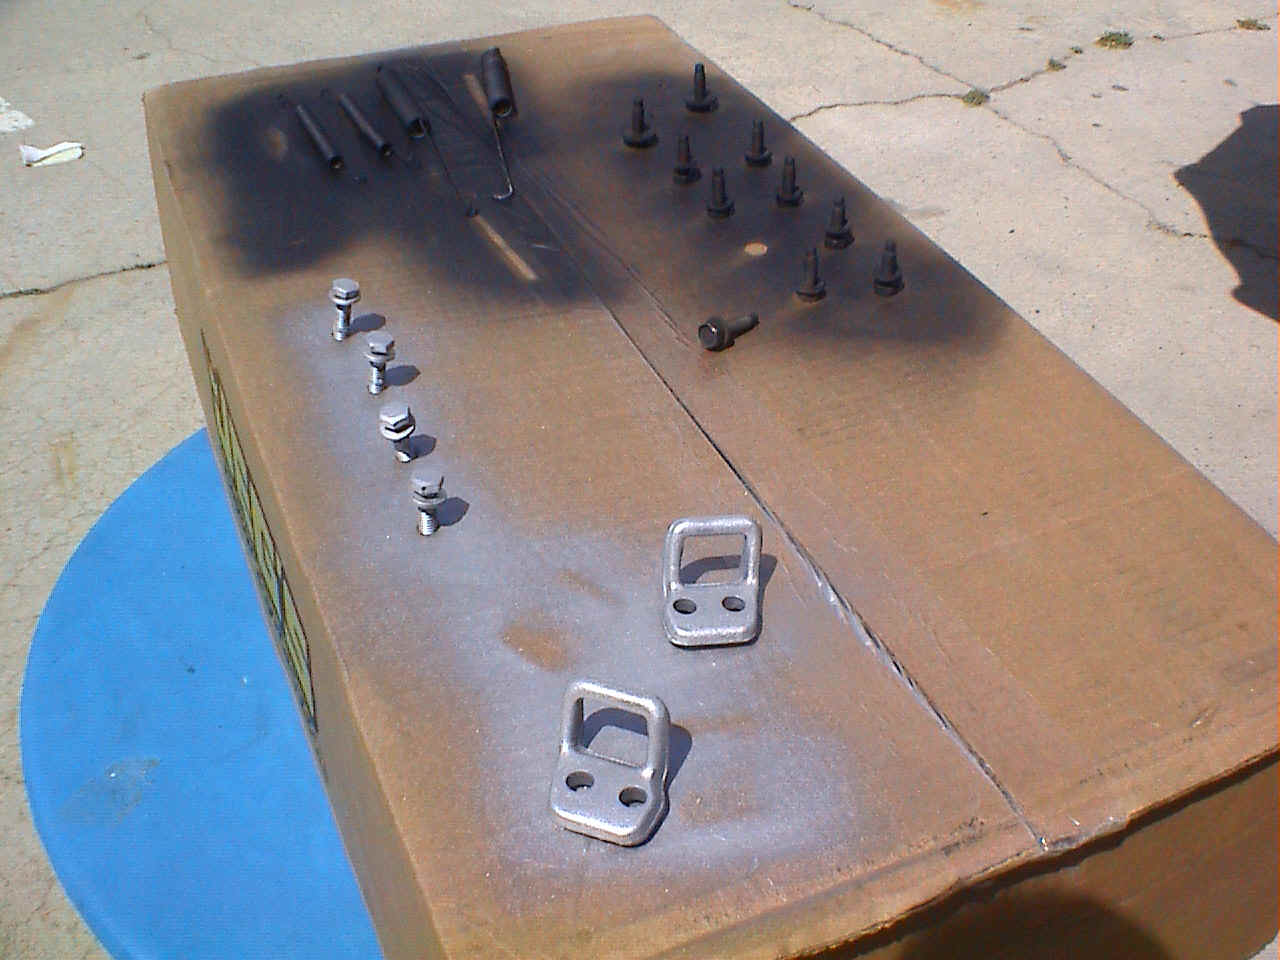
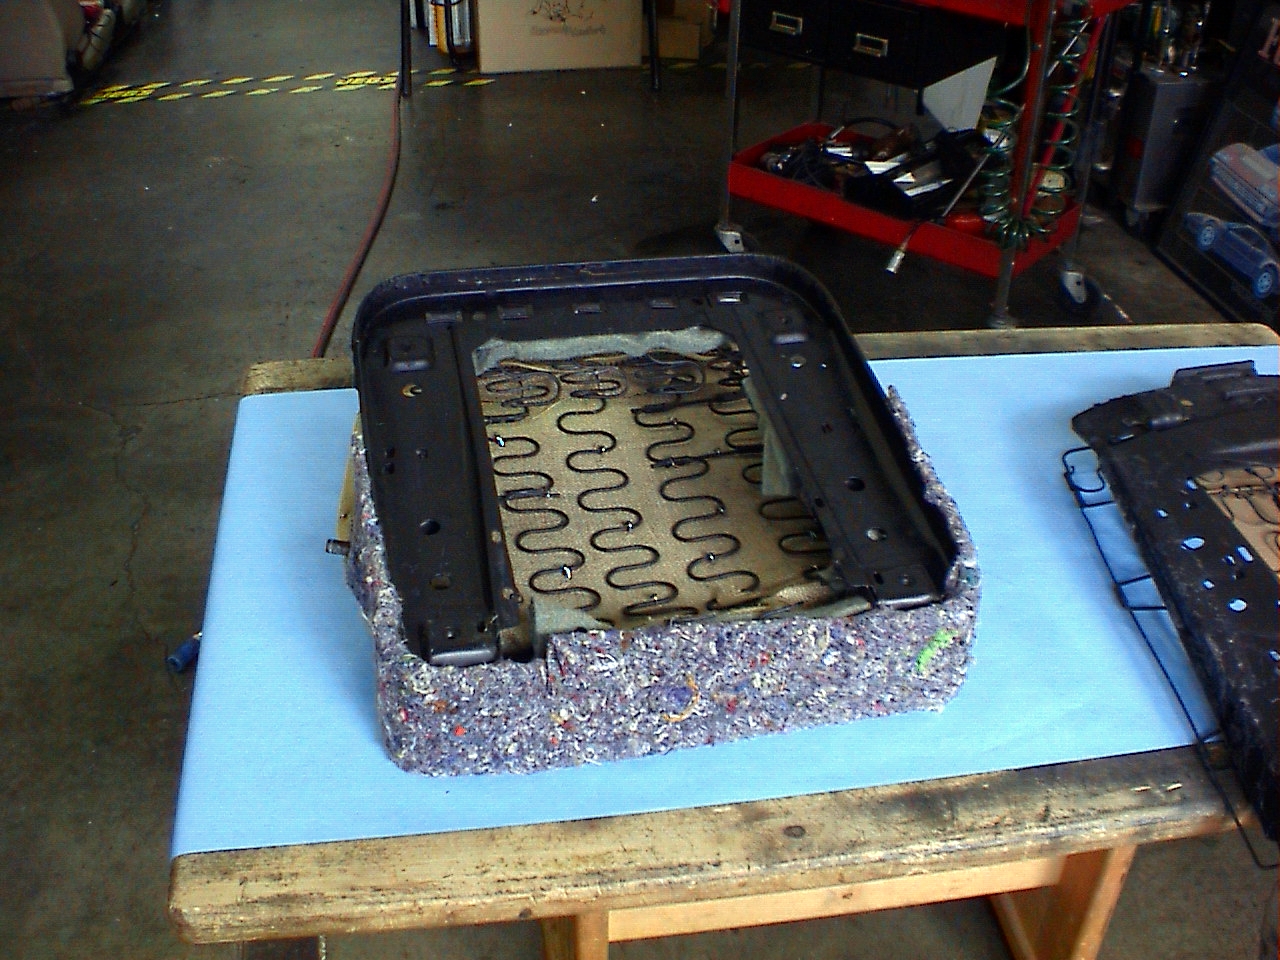
Parts are cleaned with acid and coated with Sem Rust Shield


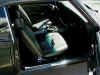
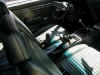
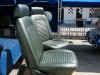
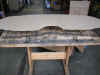
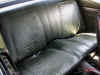
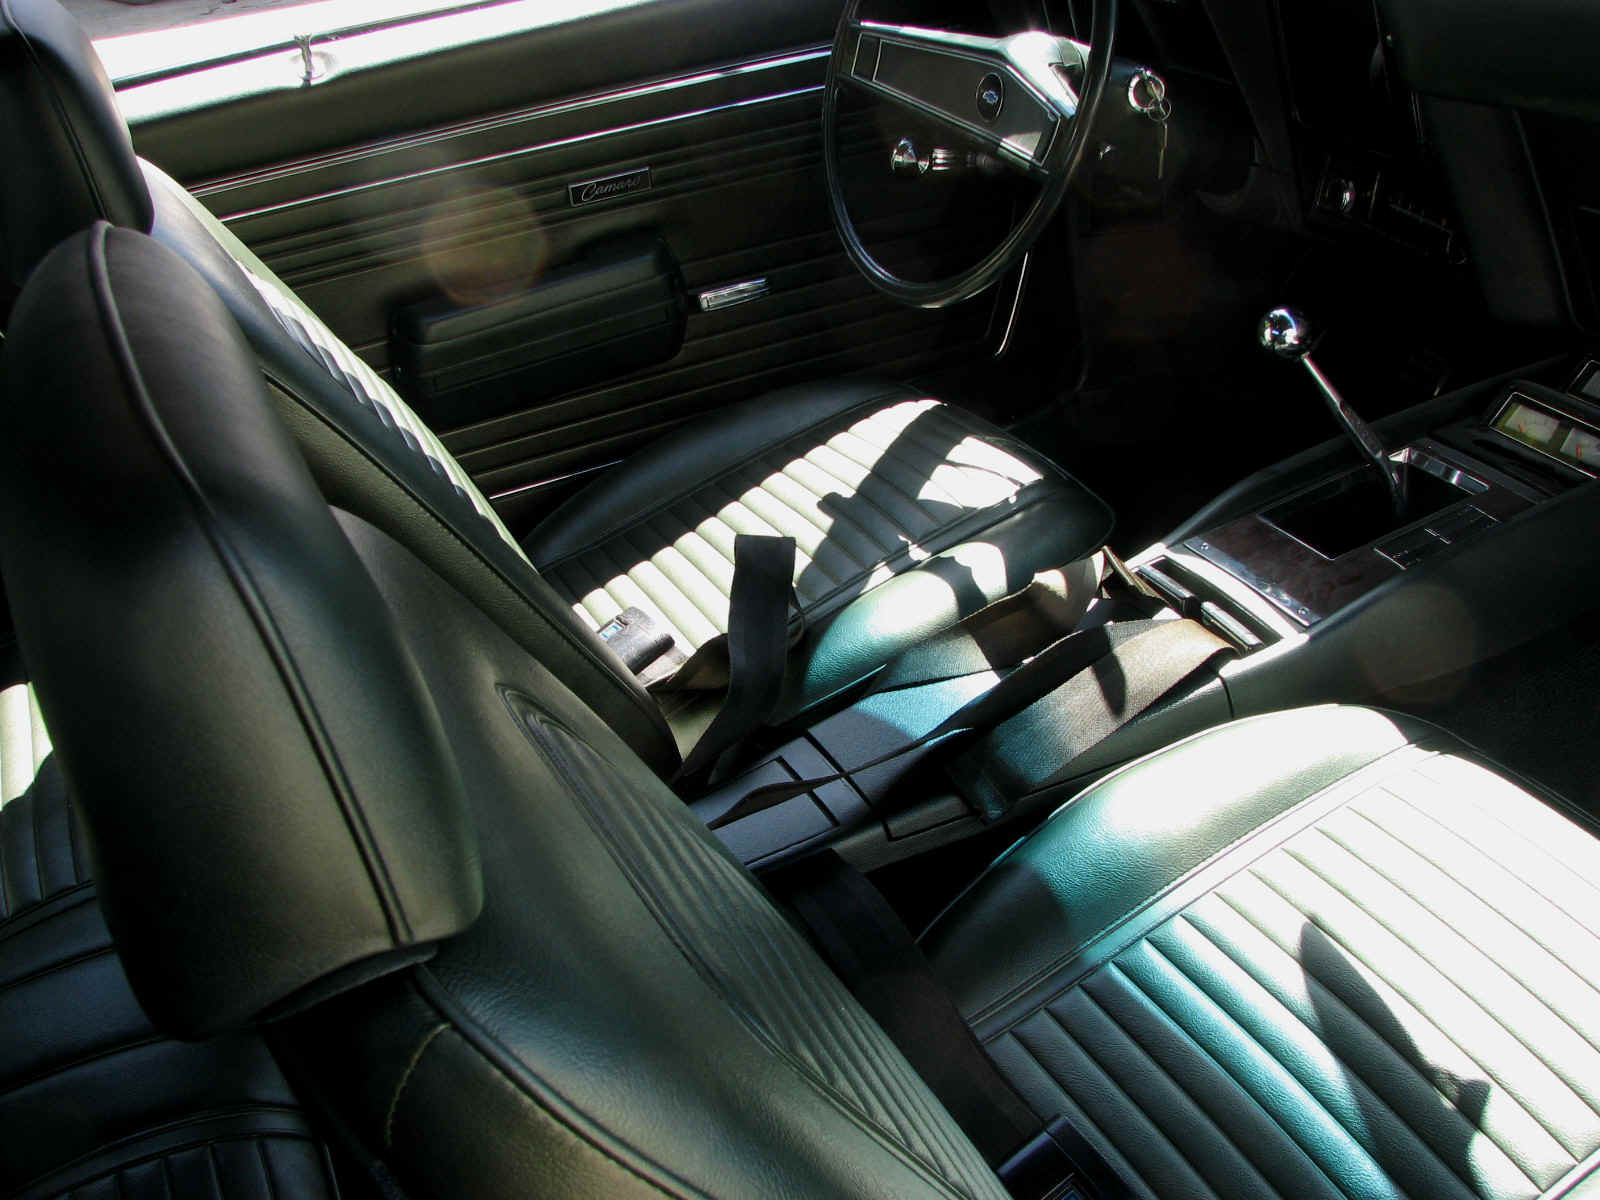
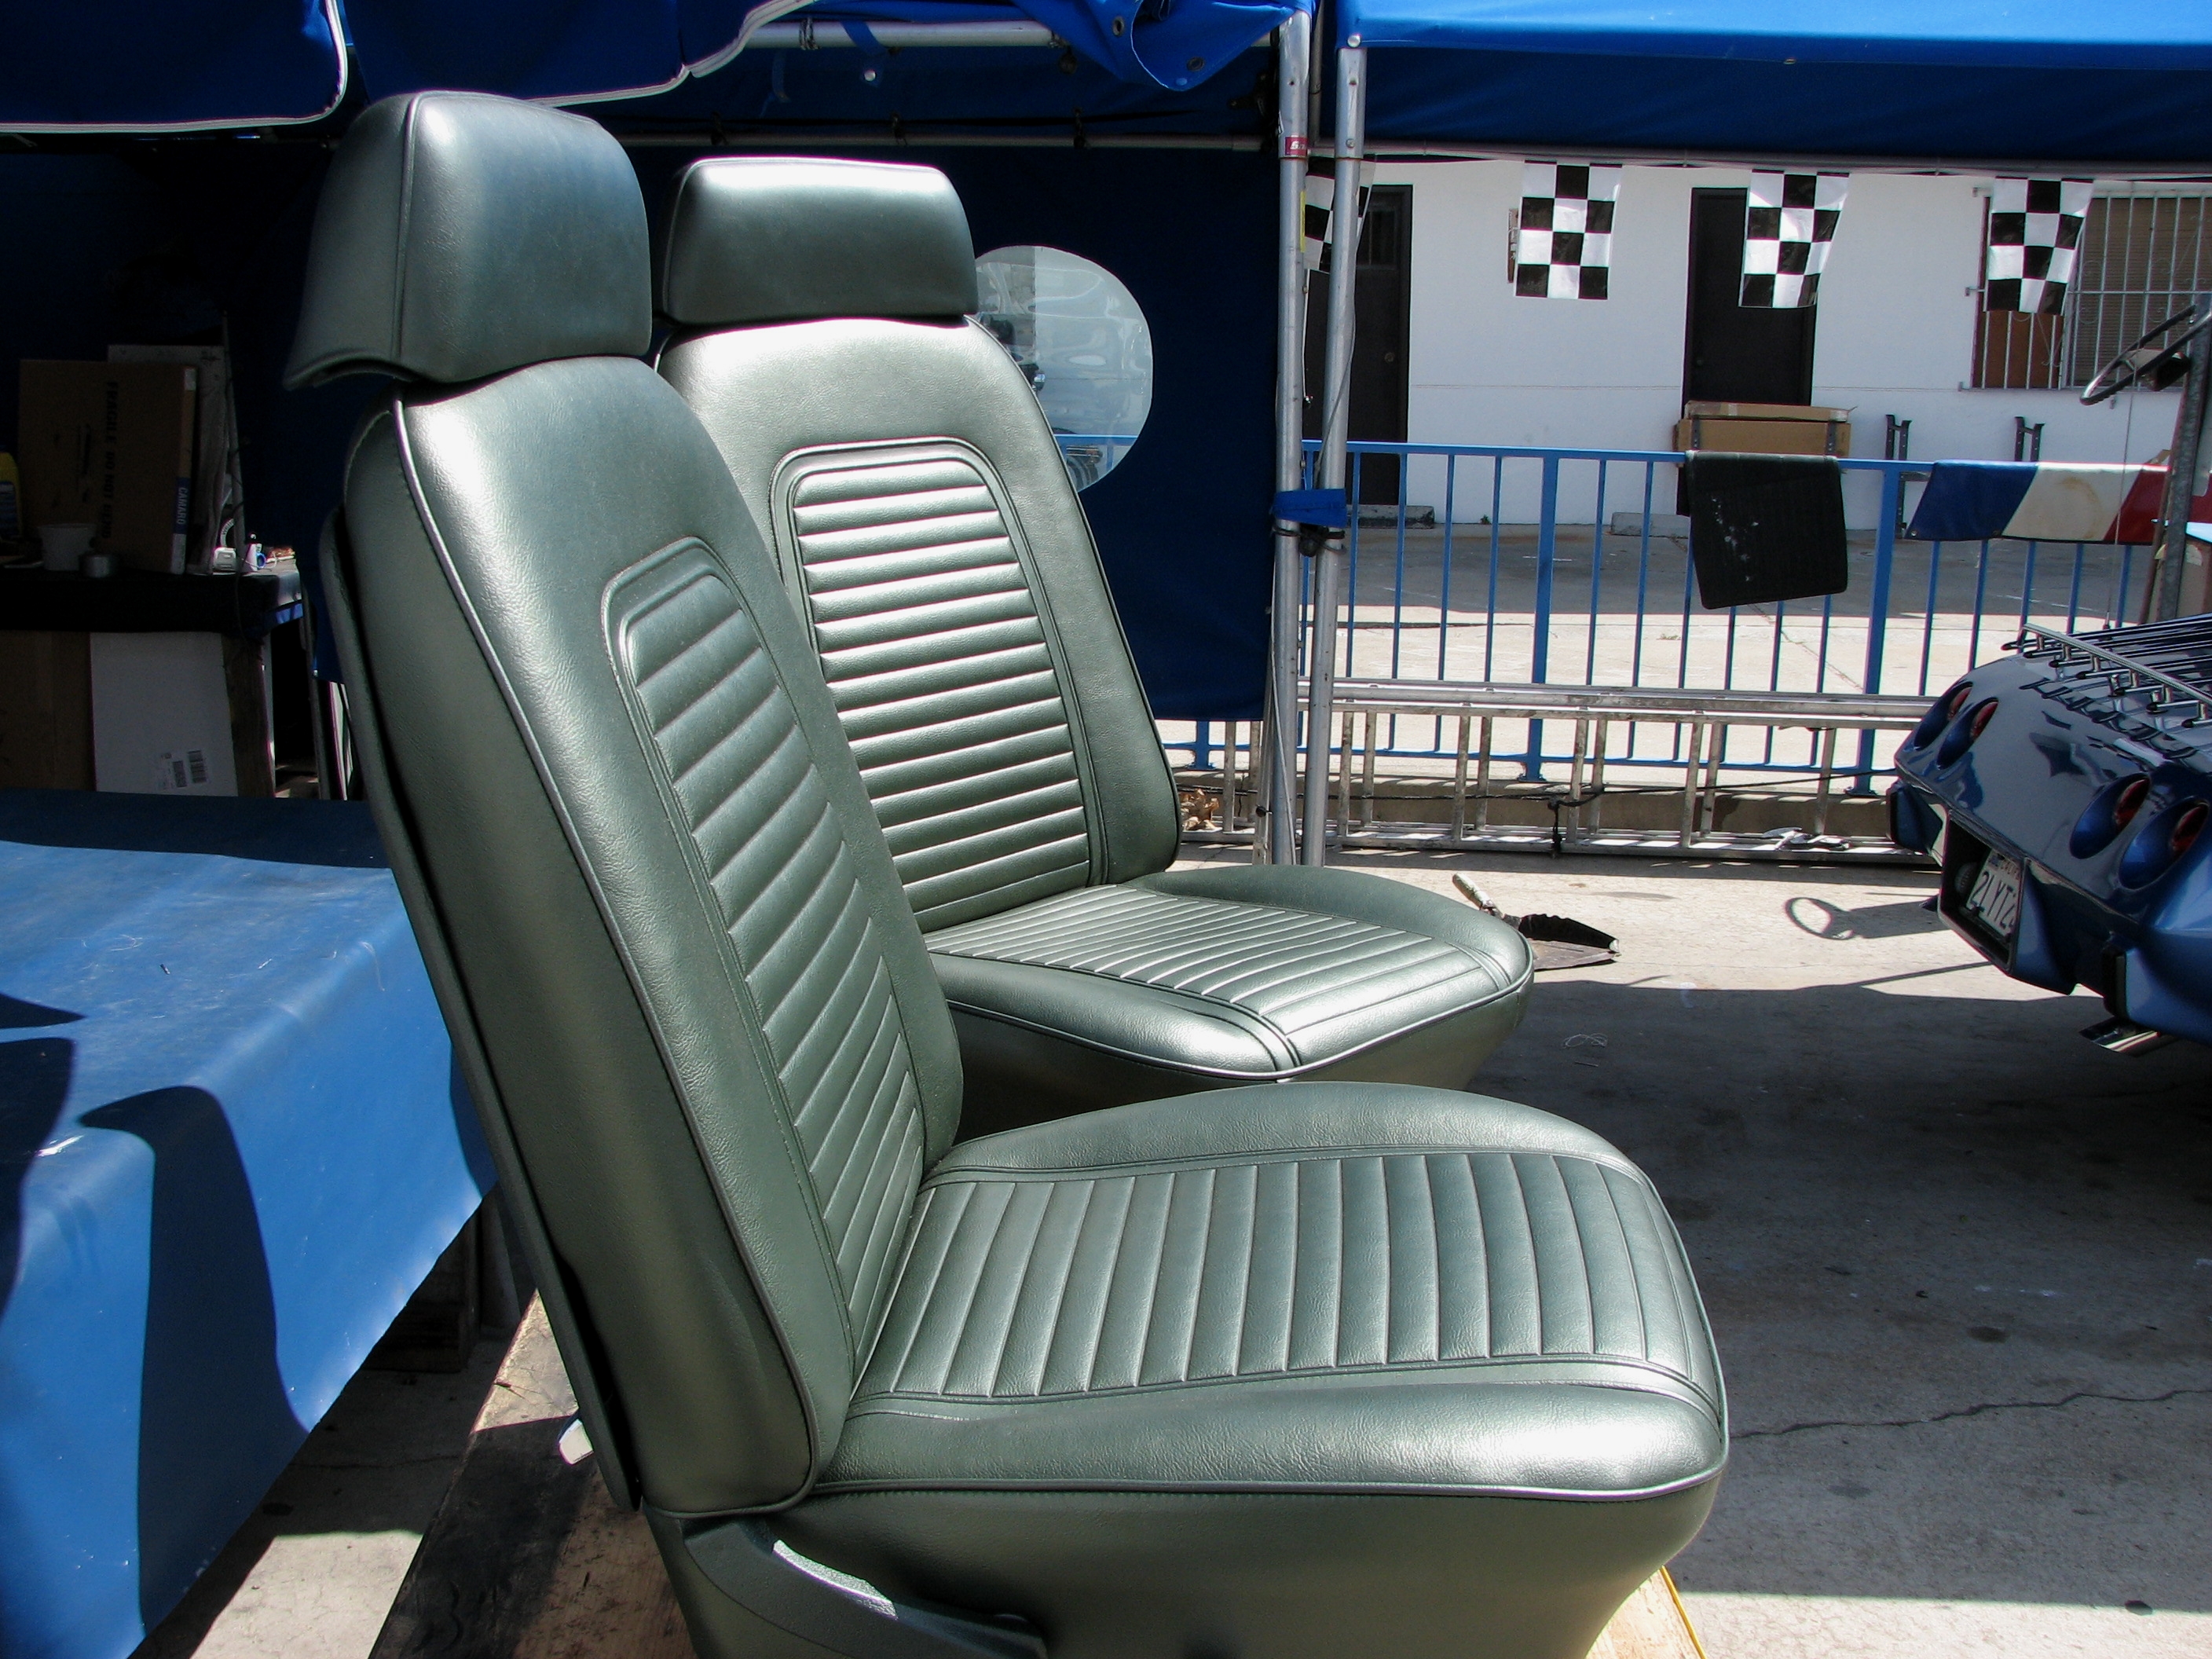
Front bucket seats look great! with the
PUI Covers and American Cushion foam installed

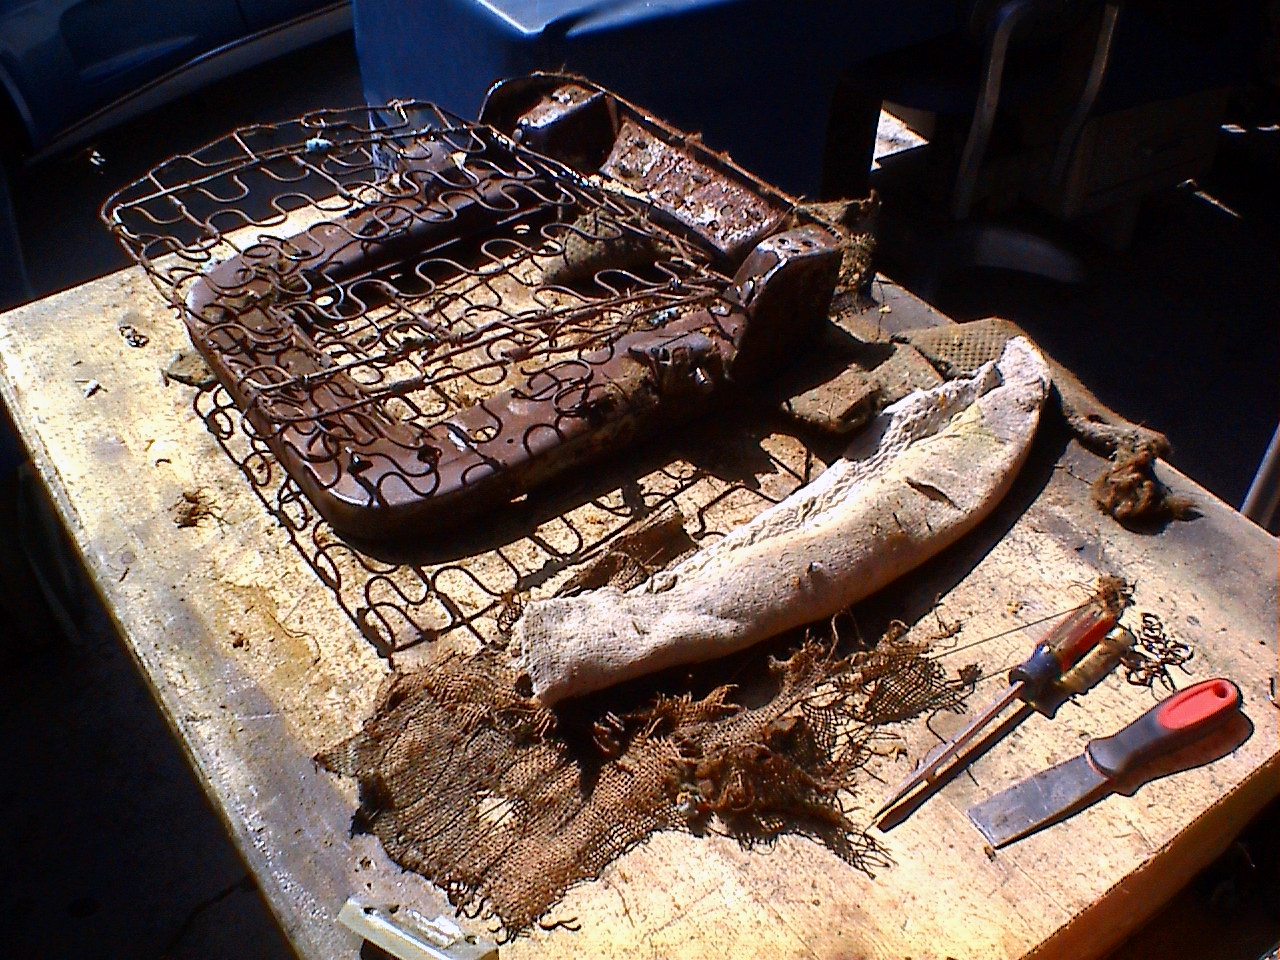
See the old rusty seat frames we restored start to finish
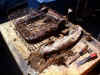
frames are washed in acid then the broken oem springs were mig welded by Paul at Auto Metal
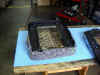
Sem Rust Shield is applied to frames and new burlap and jute felt are then installed

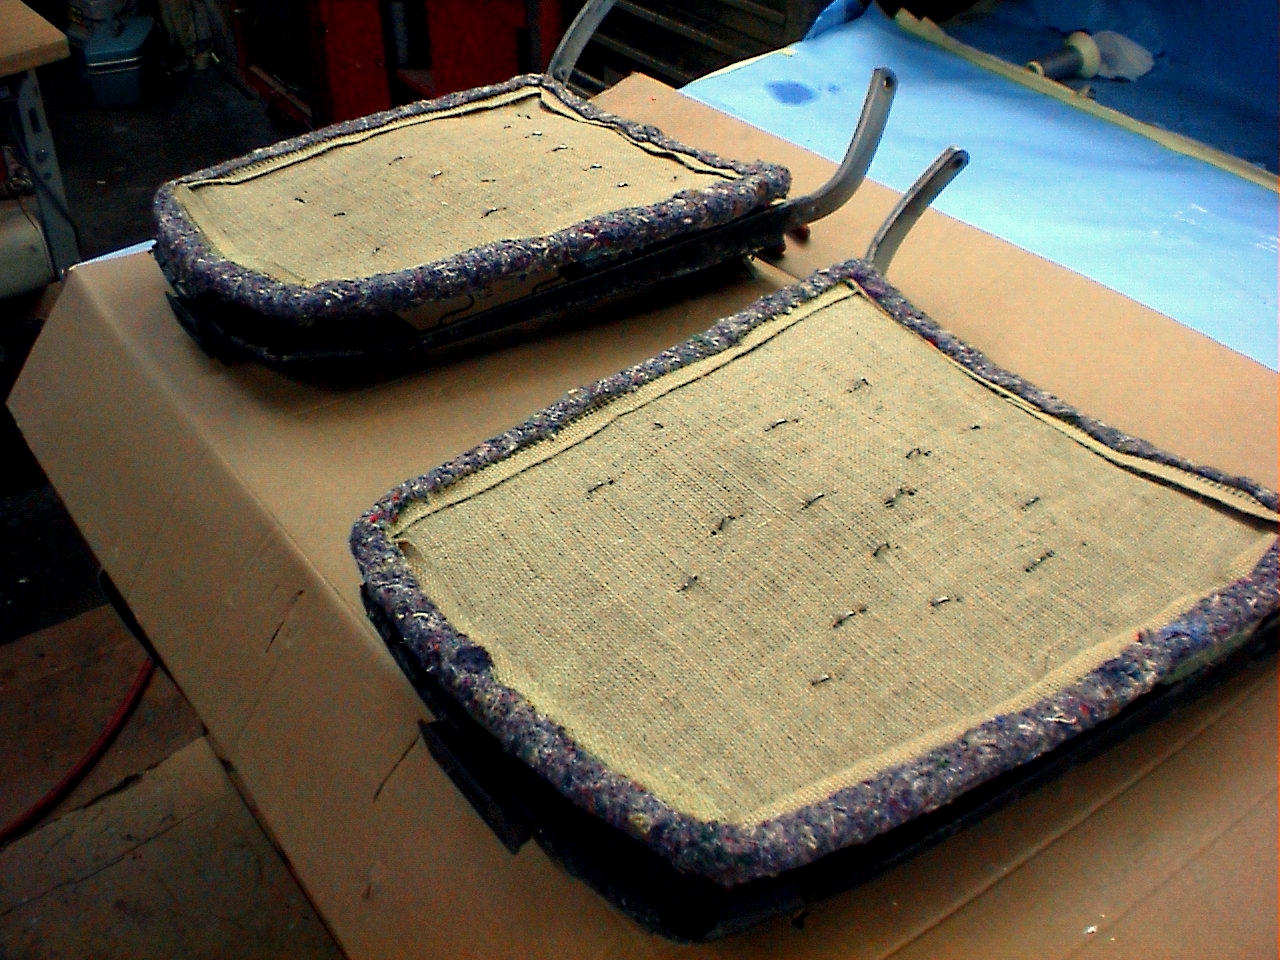
Next we install the PUI seat kit and foam pad American Cushions, from StevesCamaroParts.com
this assembly from Steves looks great right out of the box !
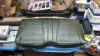
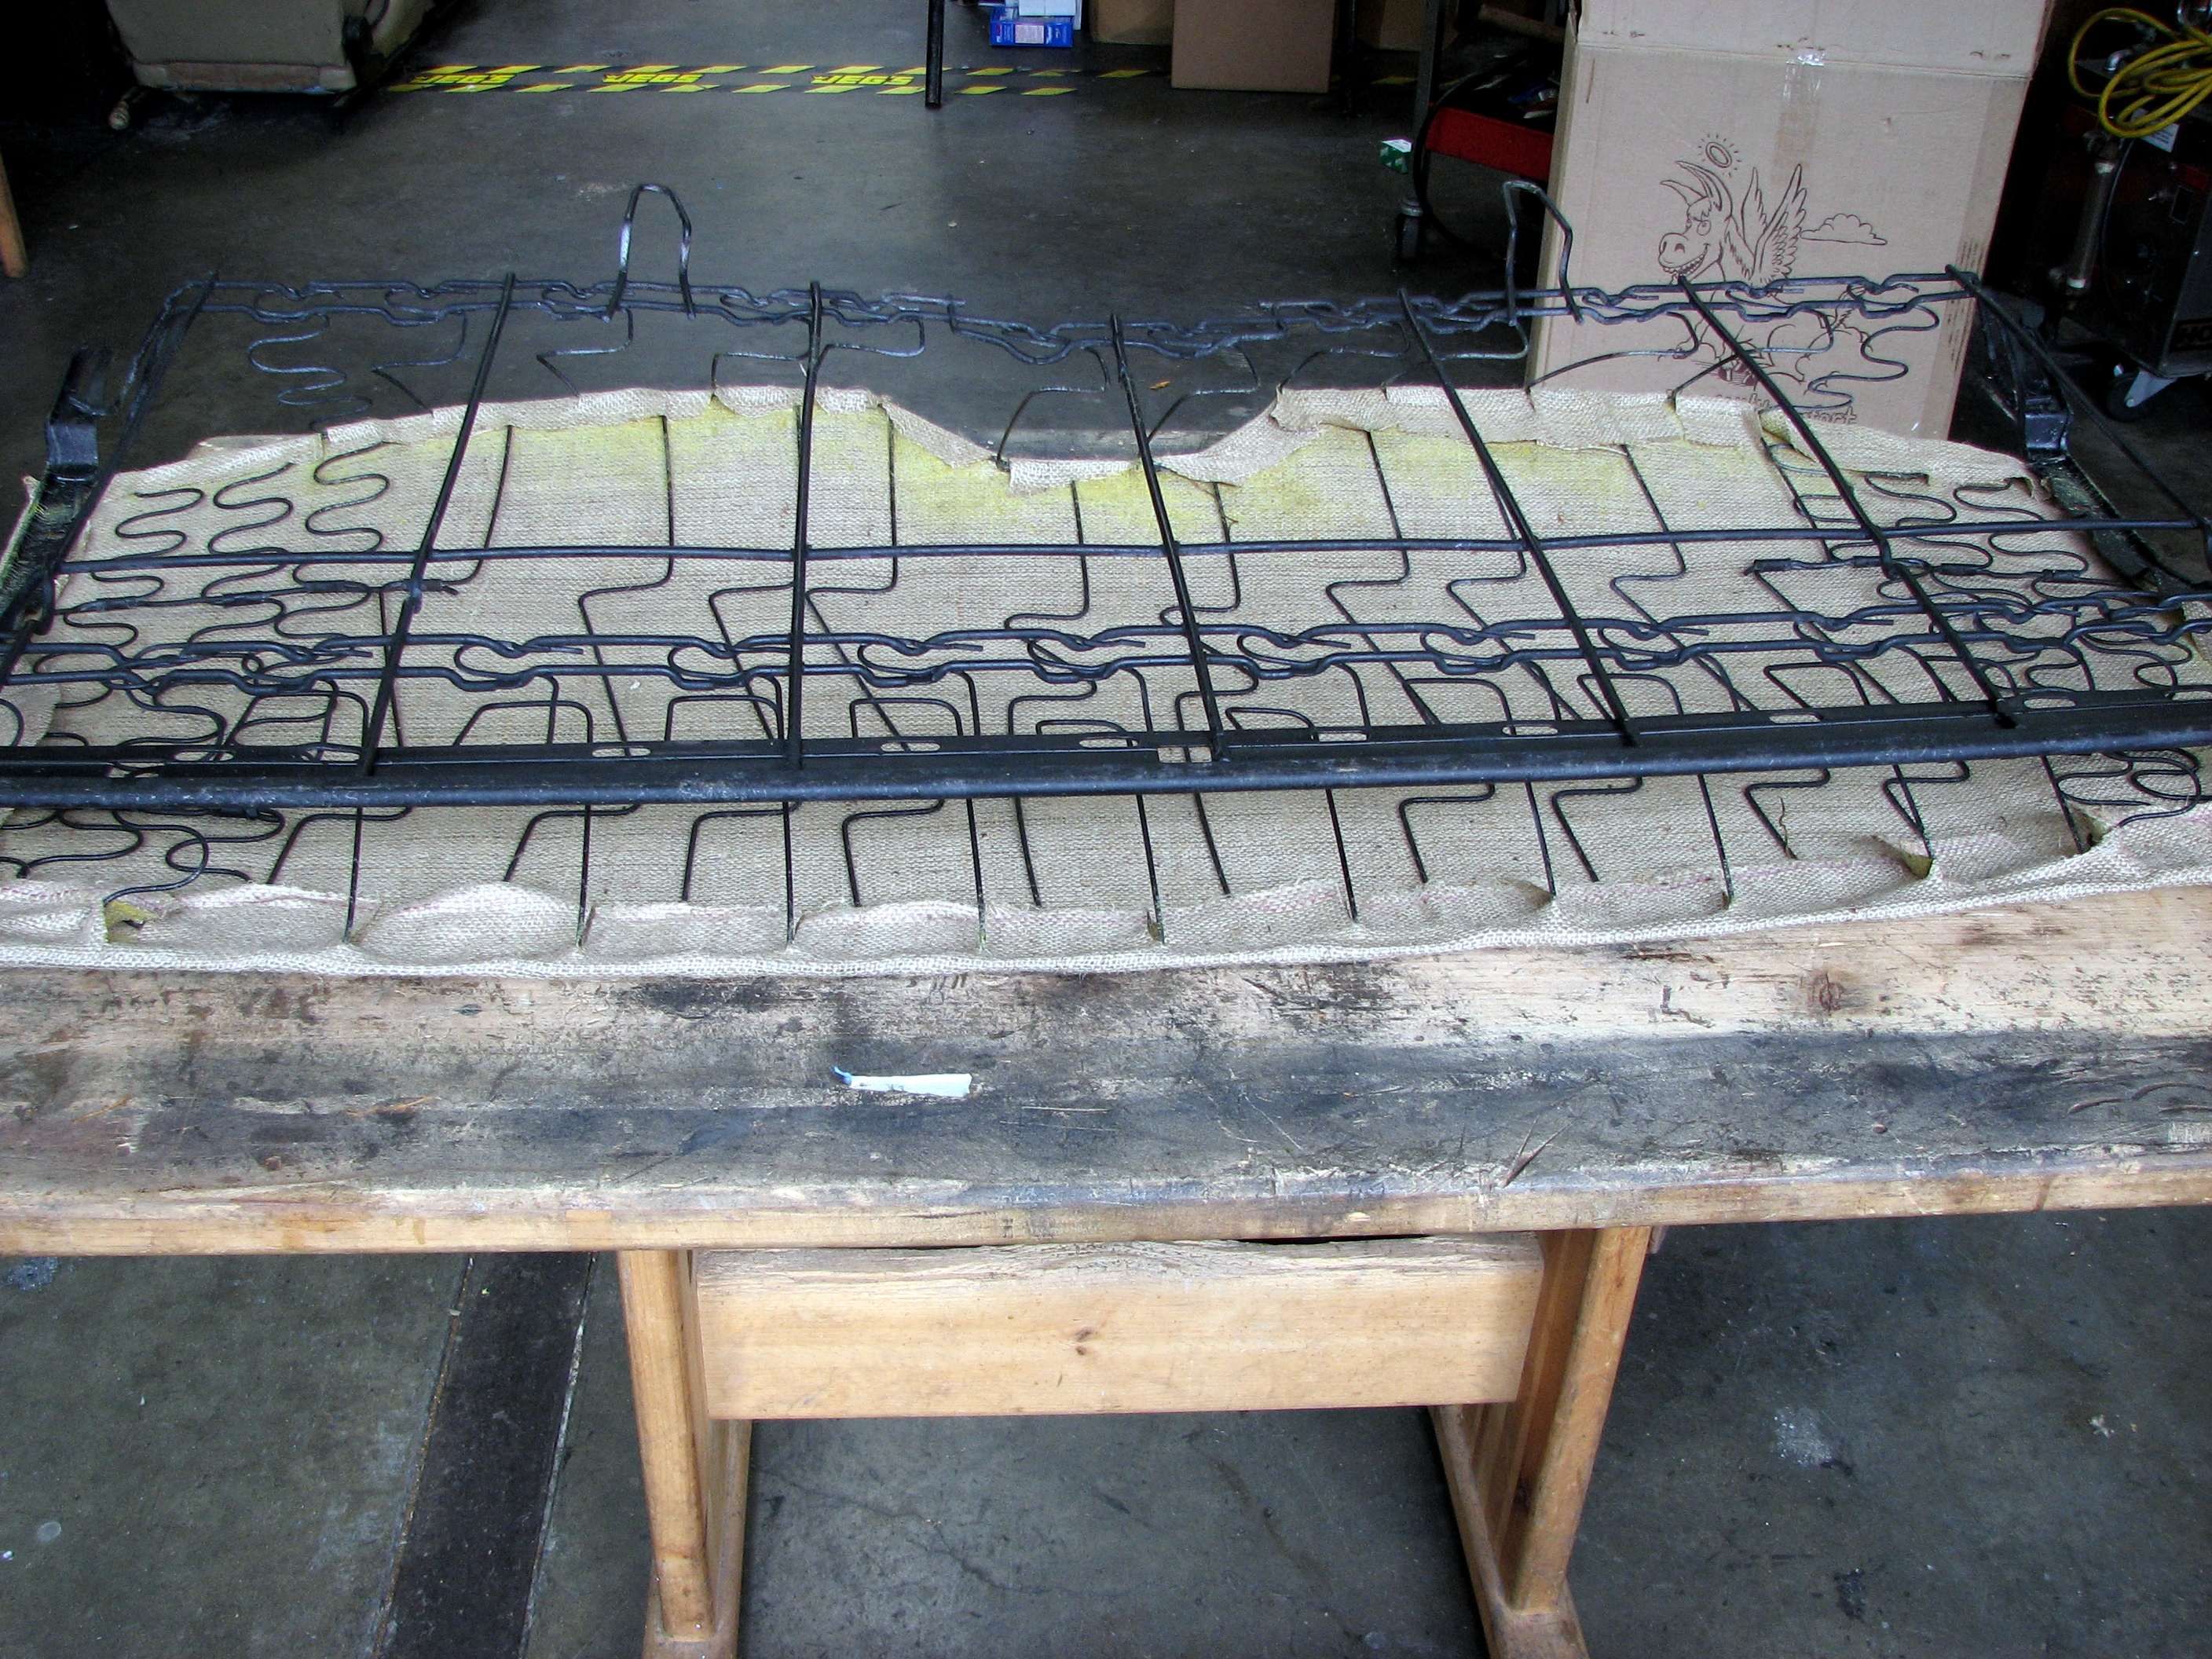
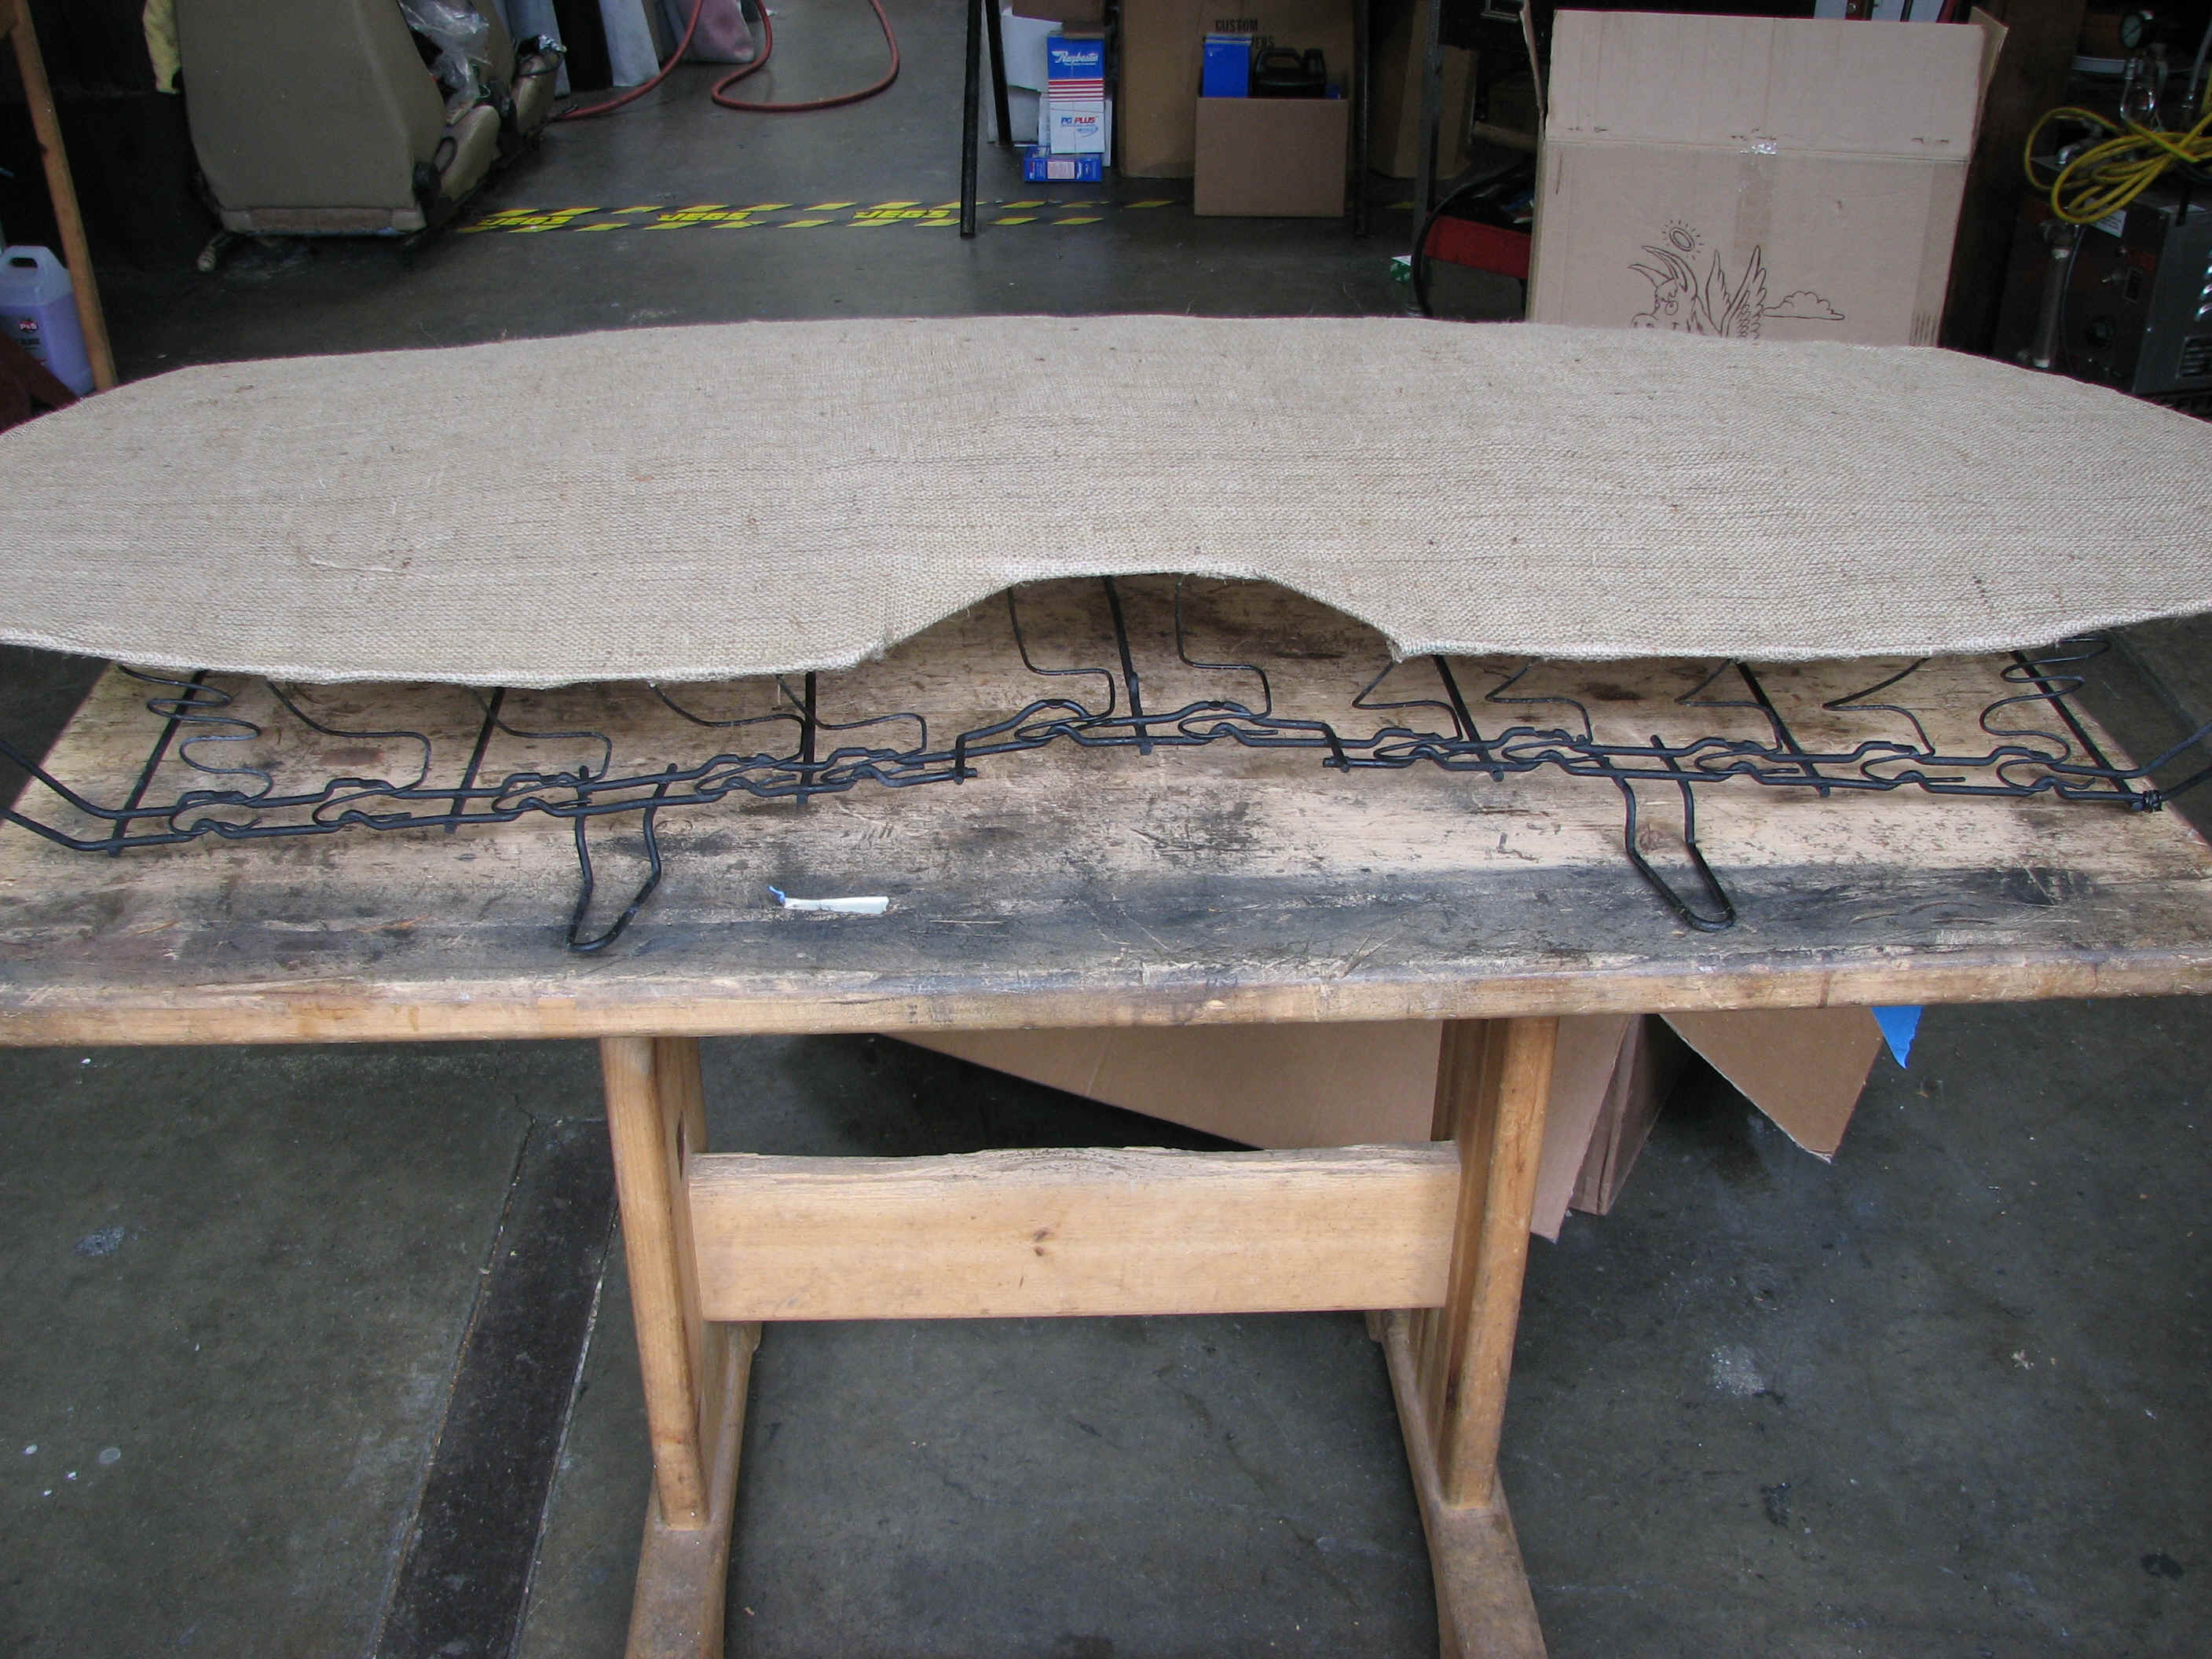
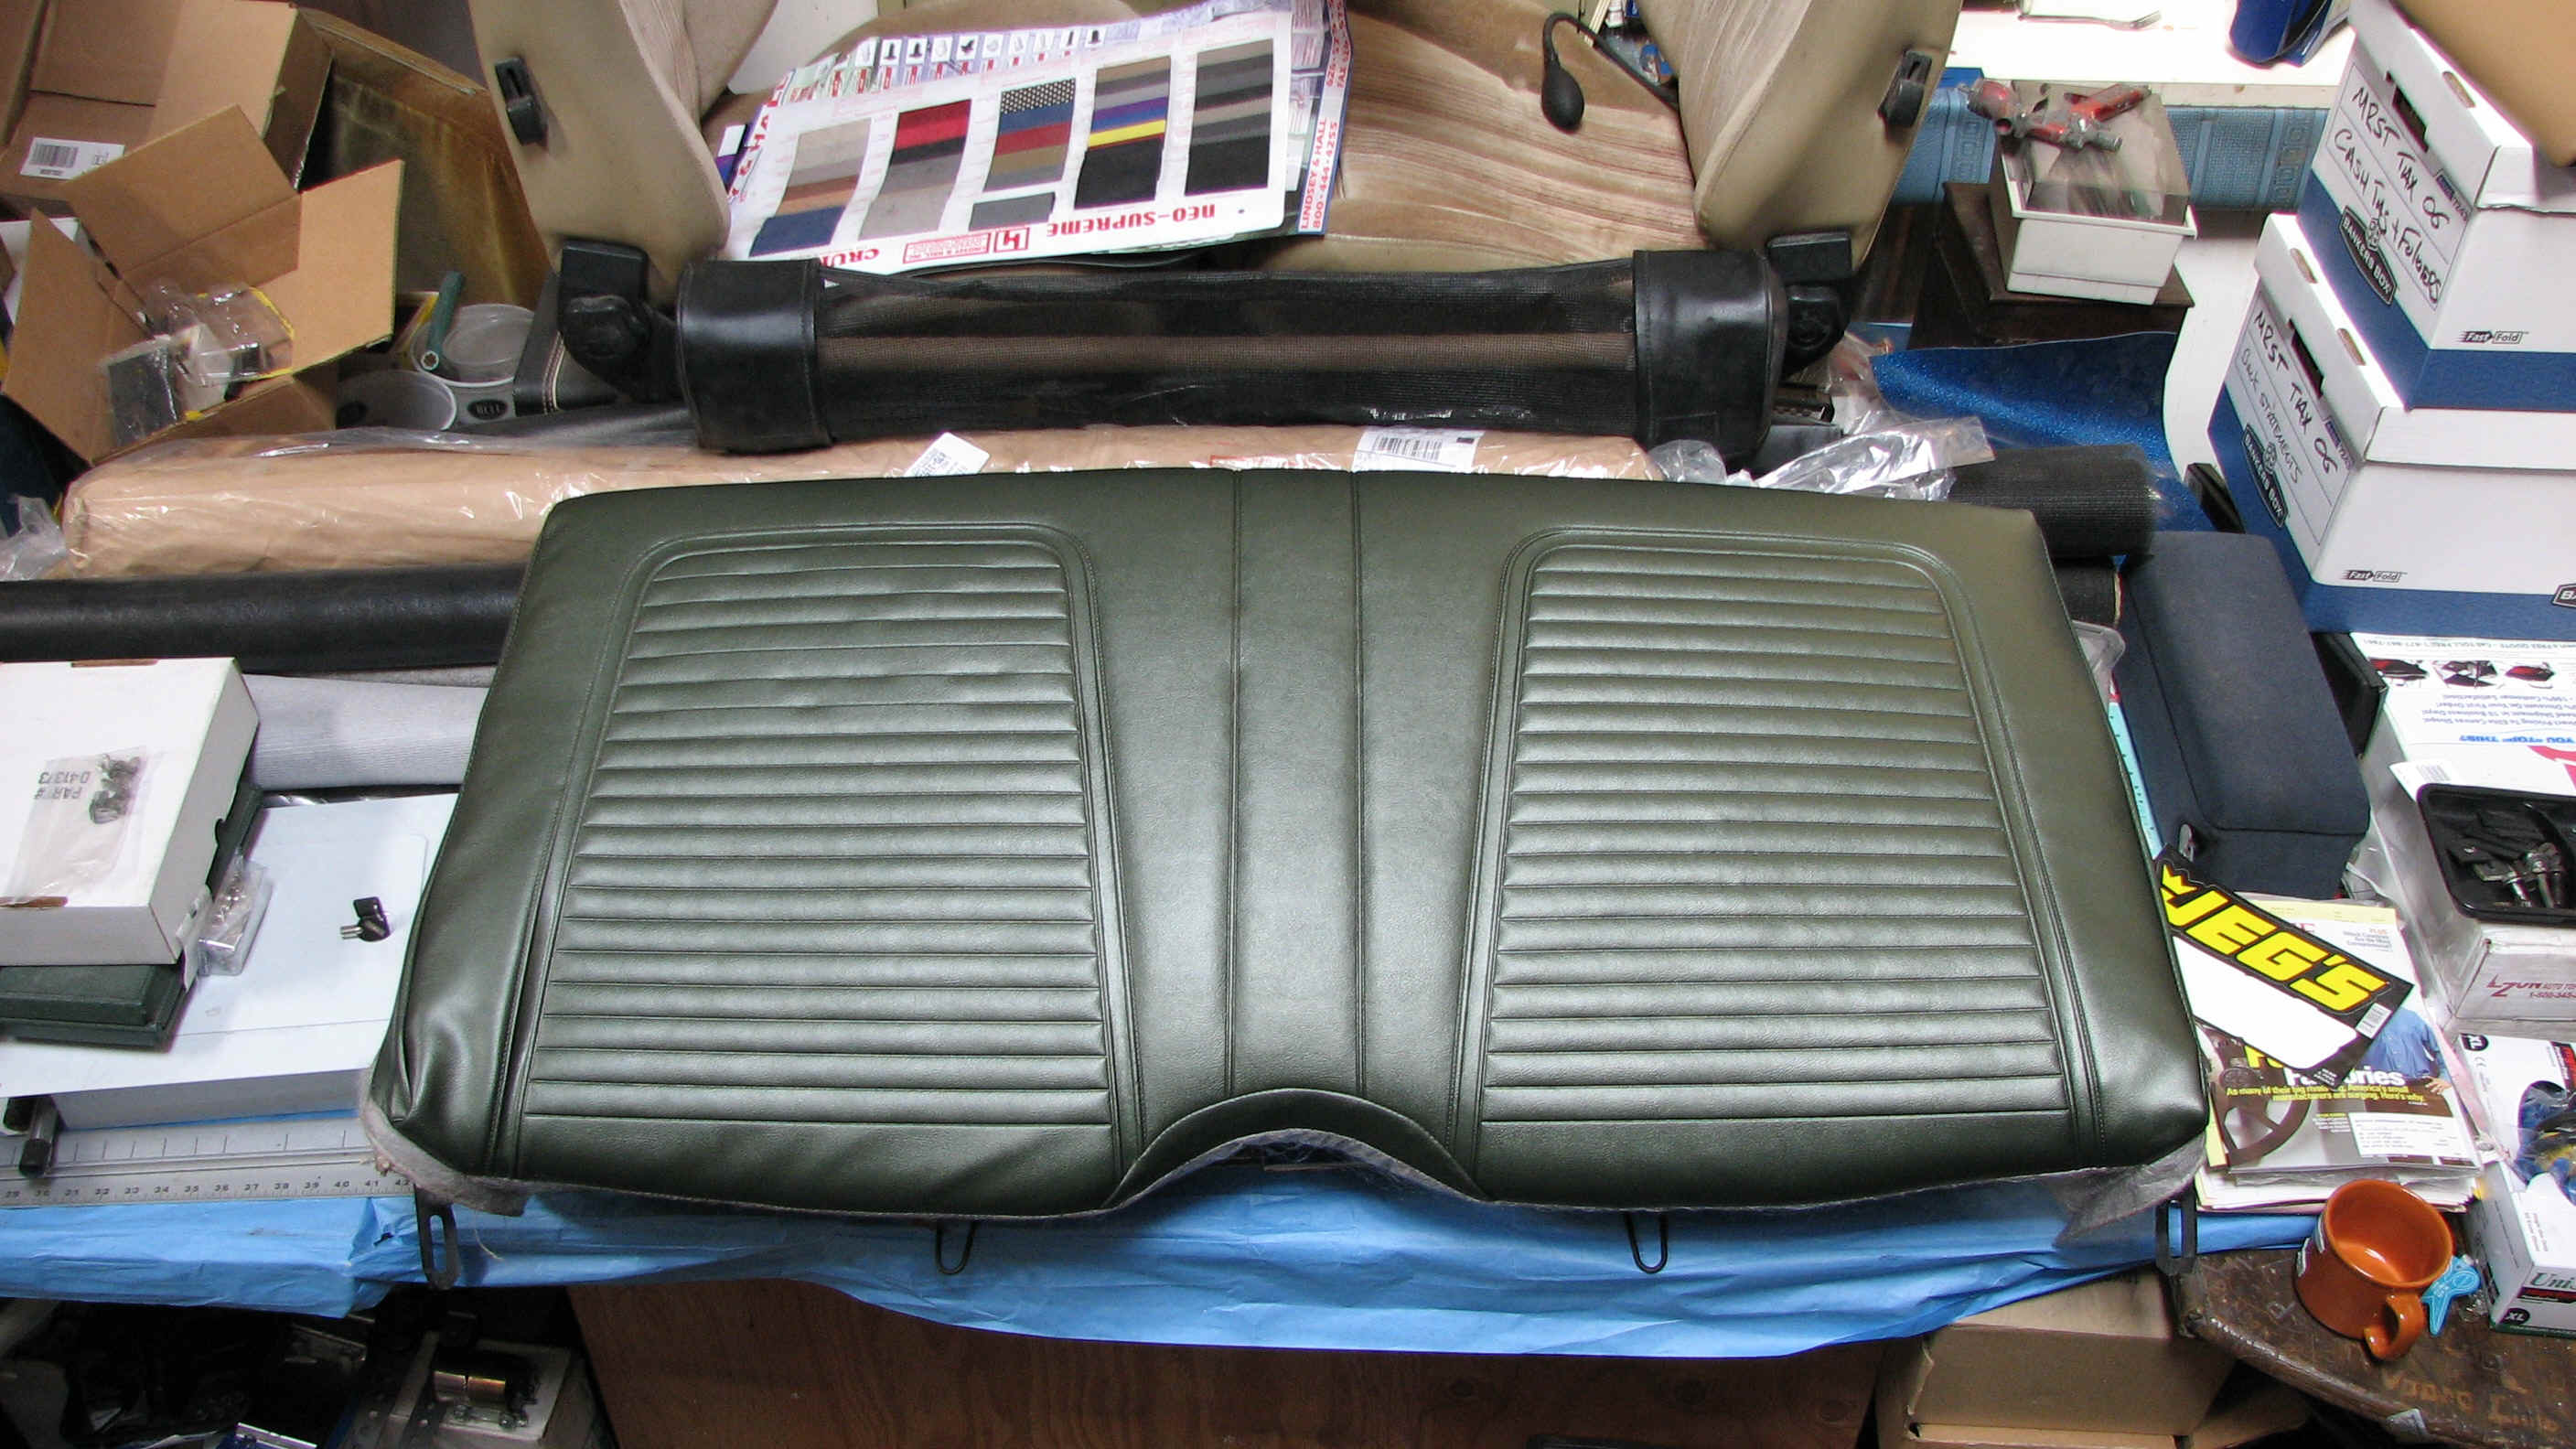
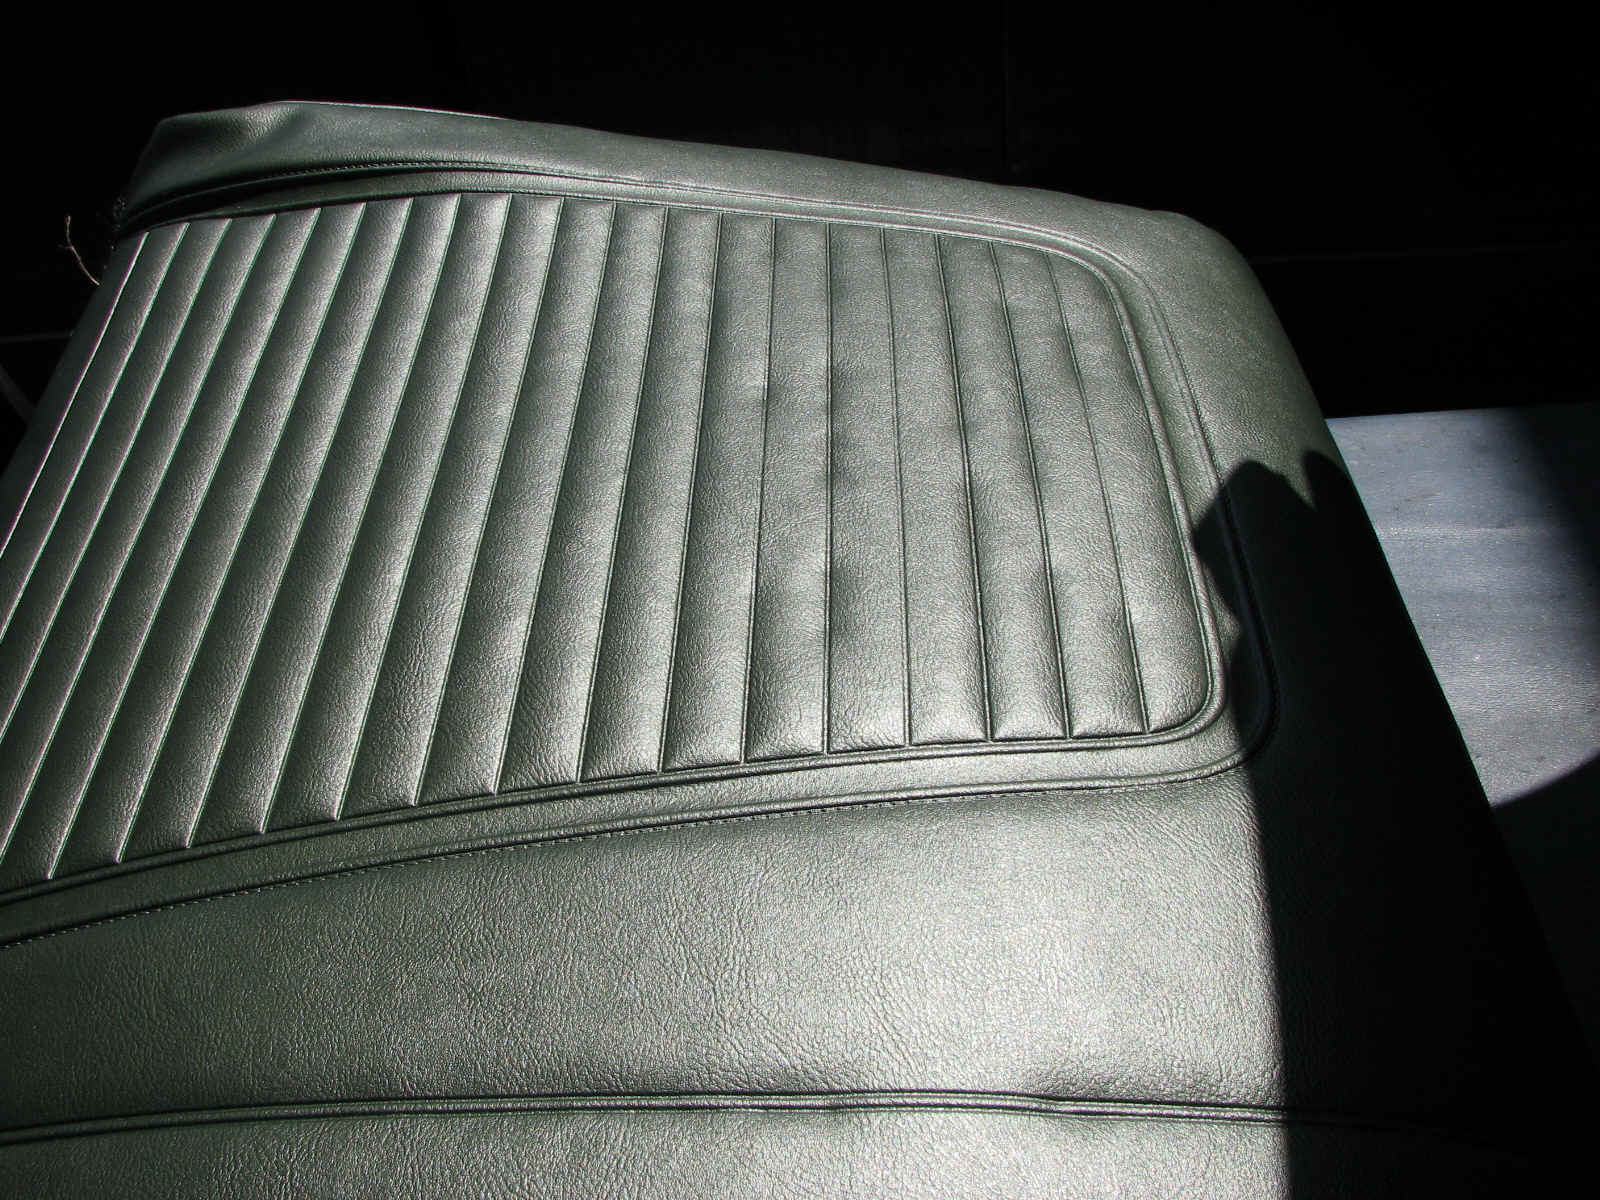
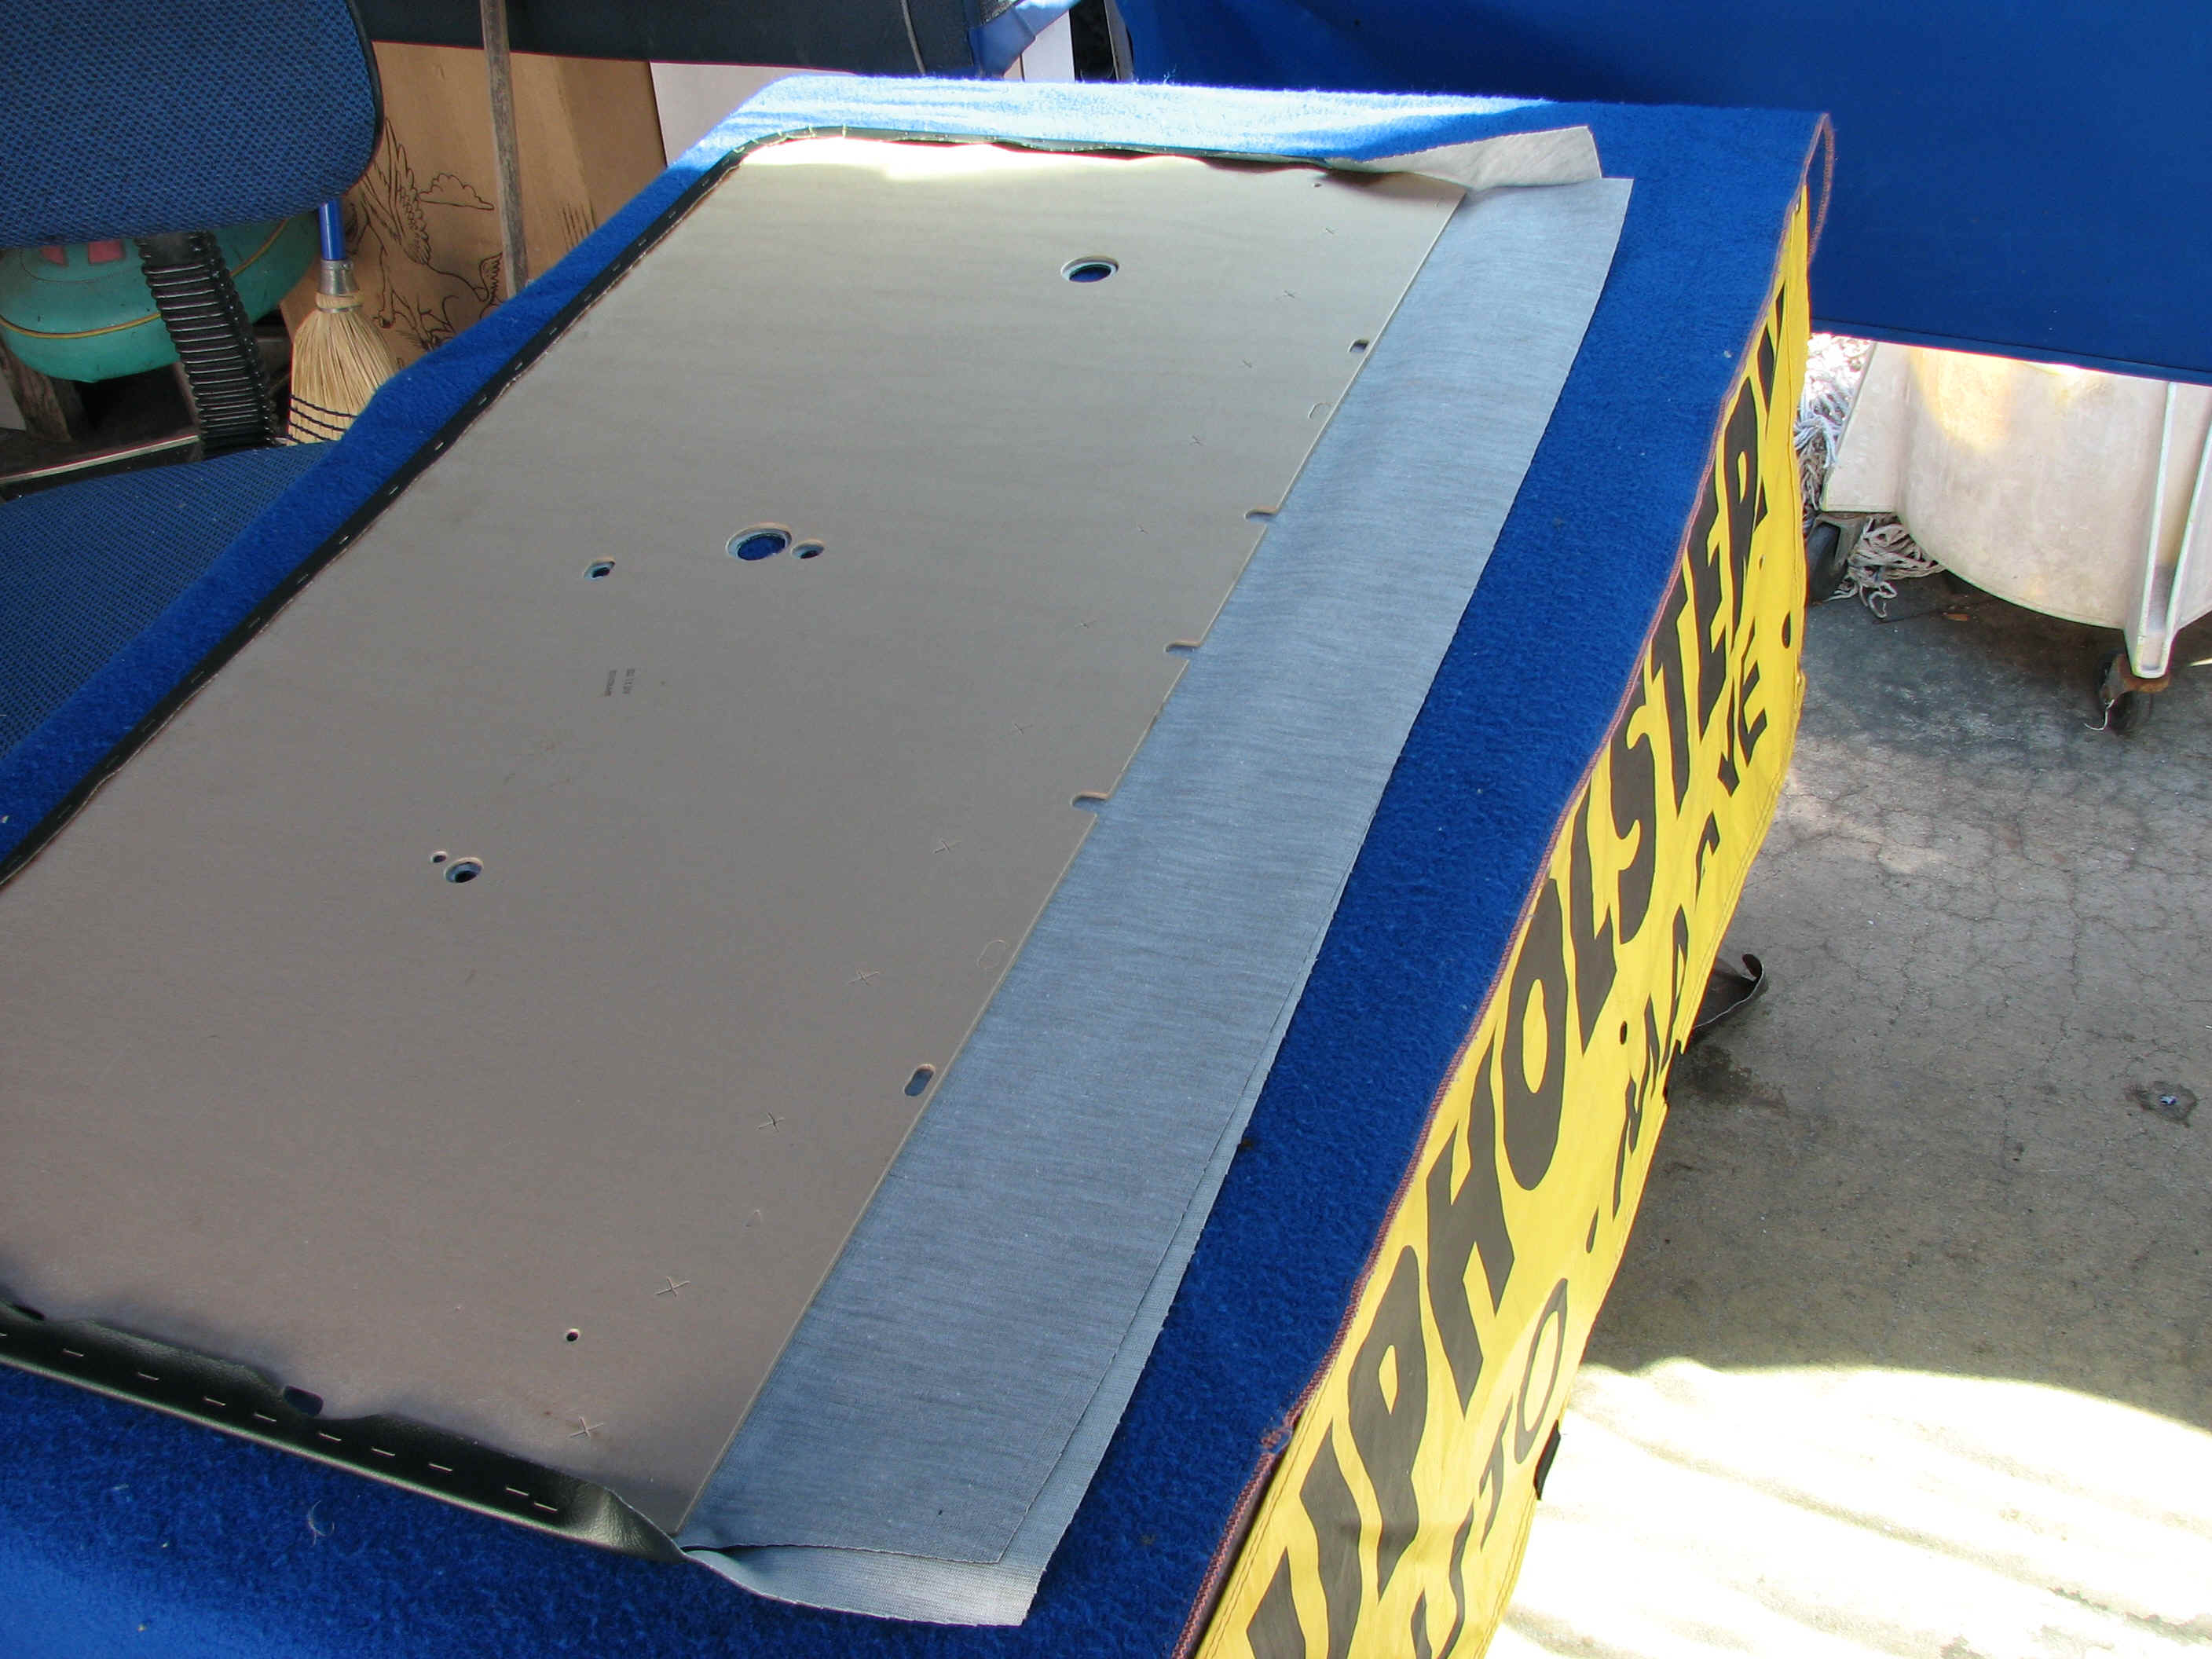
Rear seat back rest frame and pad restore pictures
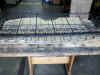
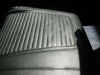
WOW! we had to STOP!
the PUI seat covers have come unsealed on the pleat sections, this looks very bad for the customer that has a completion date
the front bucket seat kit installed looks nice big thick heat sealed pleats like the original
the rear set is thin and pleats are not heat sealed evenly and the covers are doing a popcorn process as each seam lifts
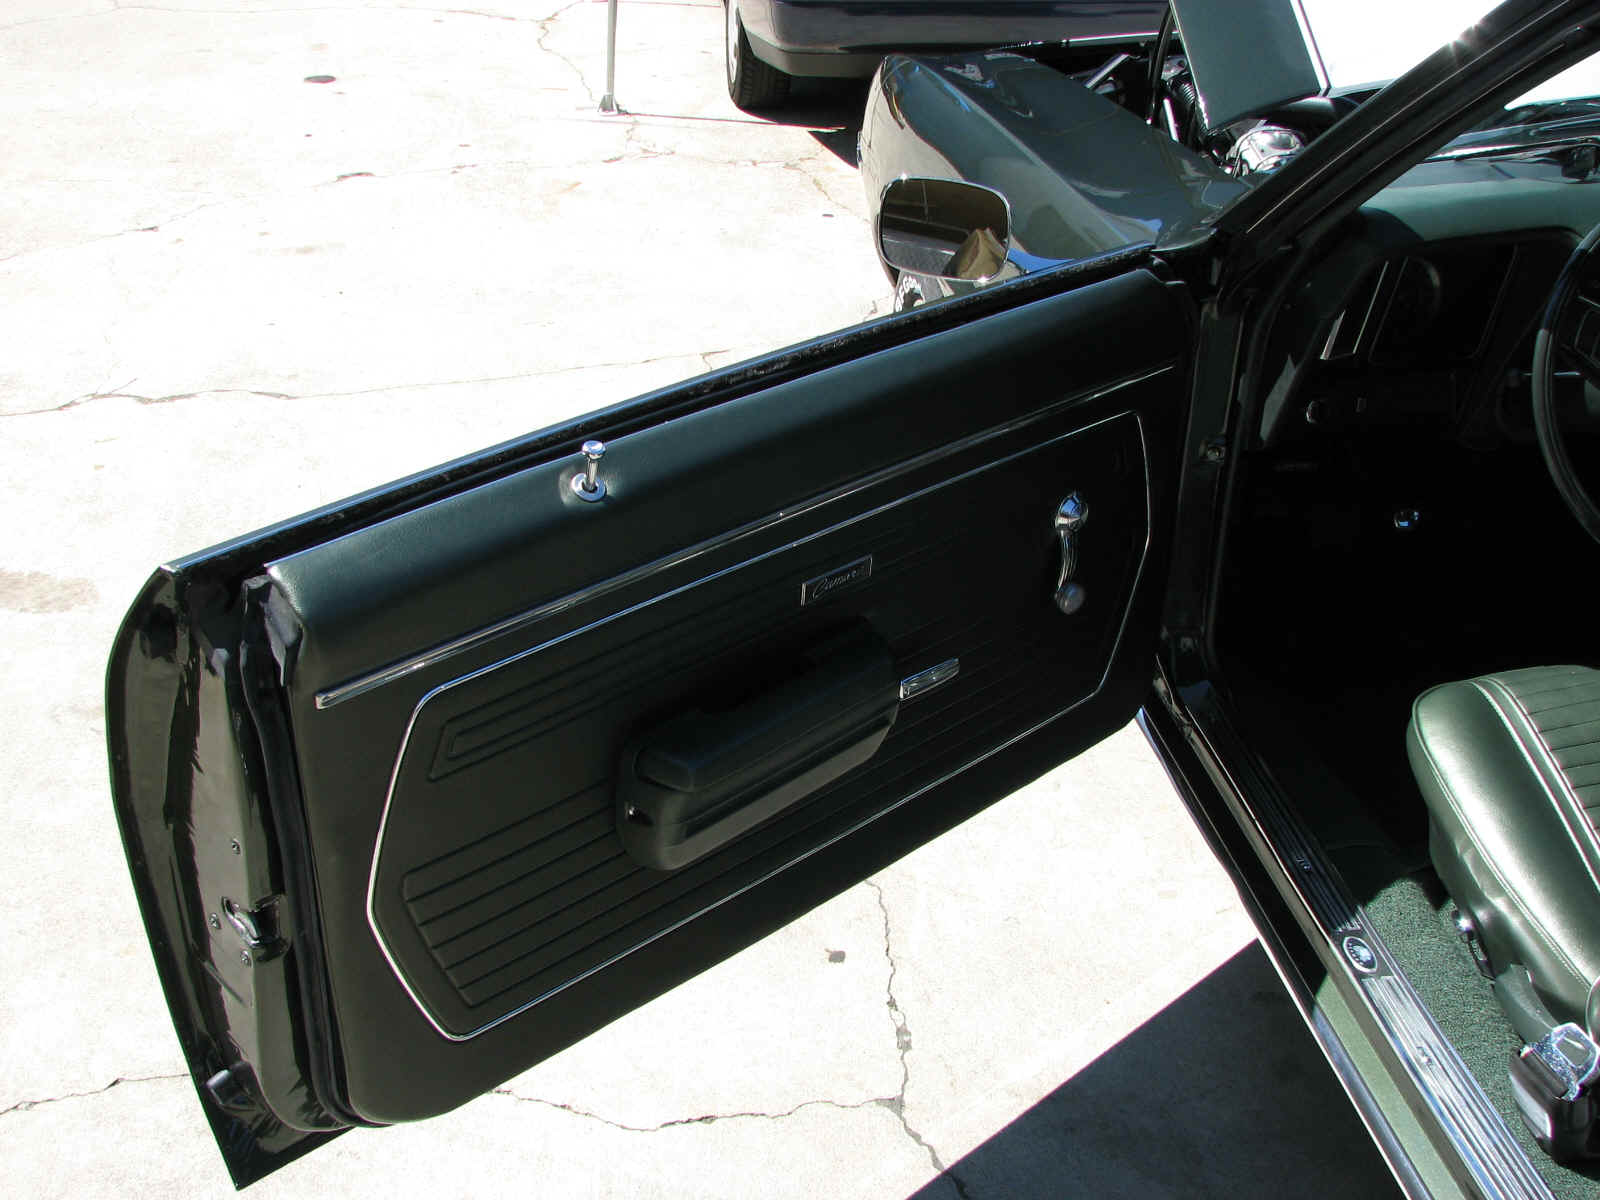
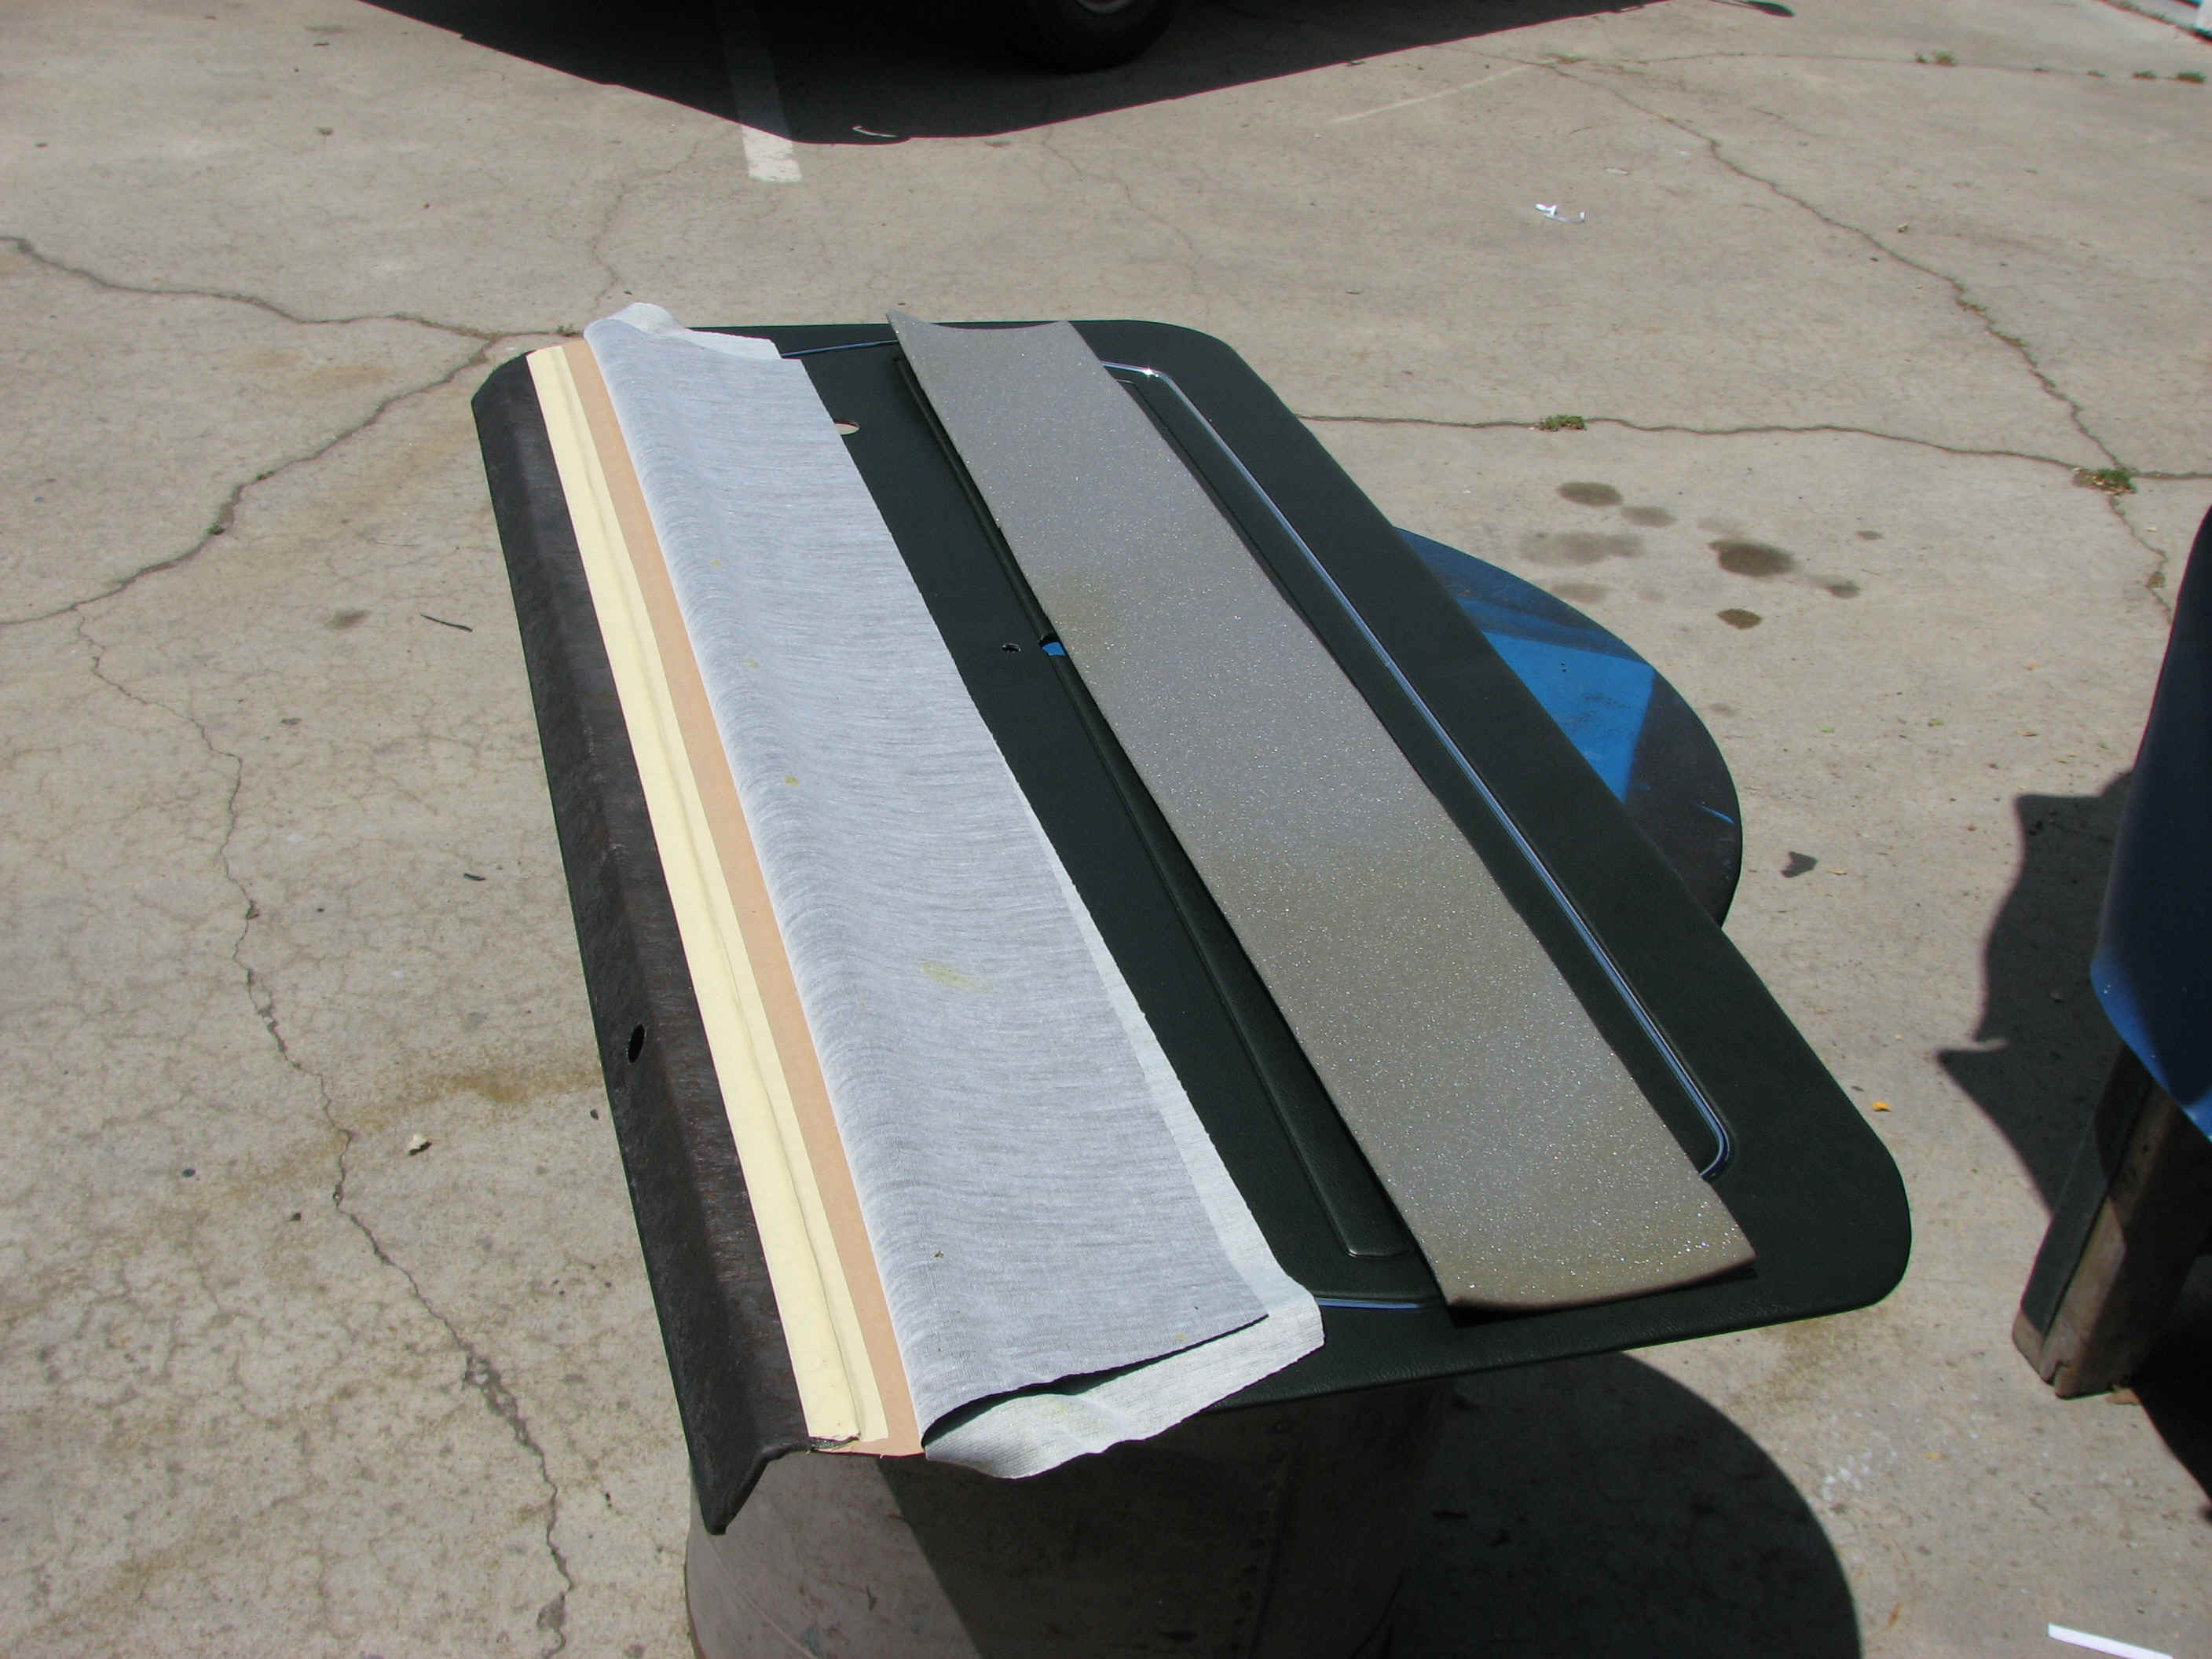
DOOR PANEL Aftermarket Kit for Z/28 Camaro
Install DIY Project Tips
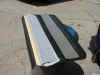

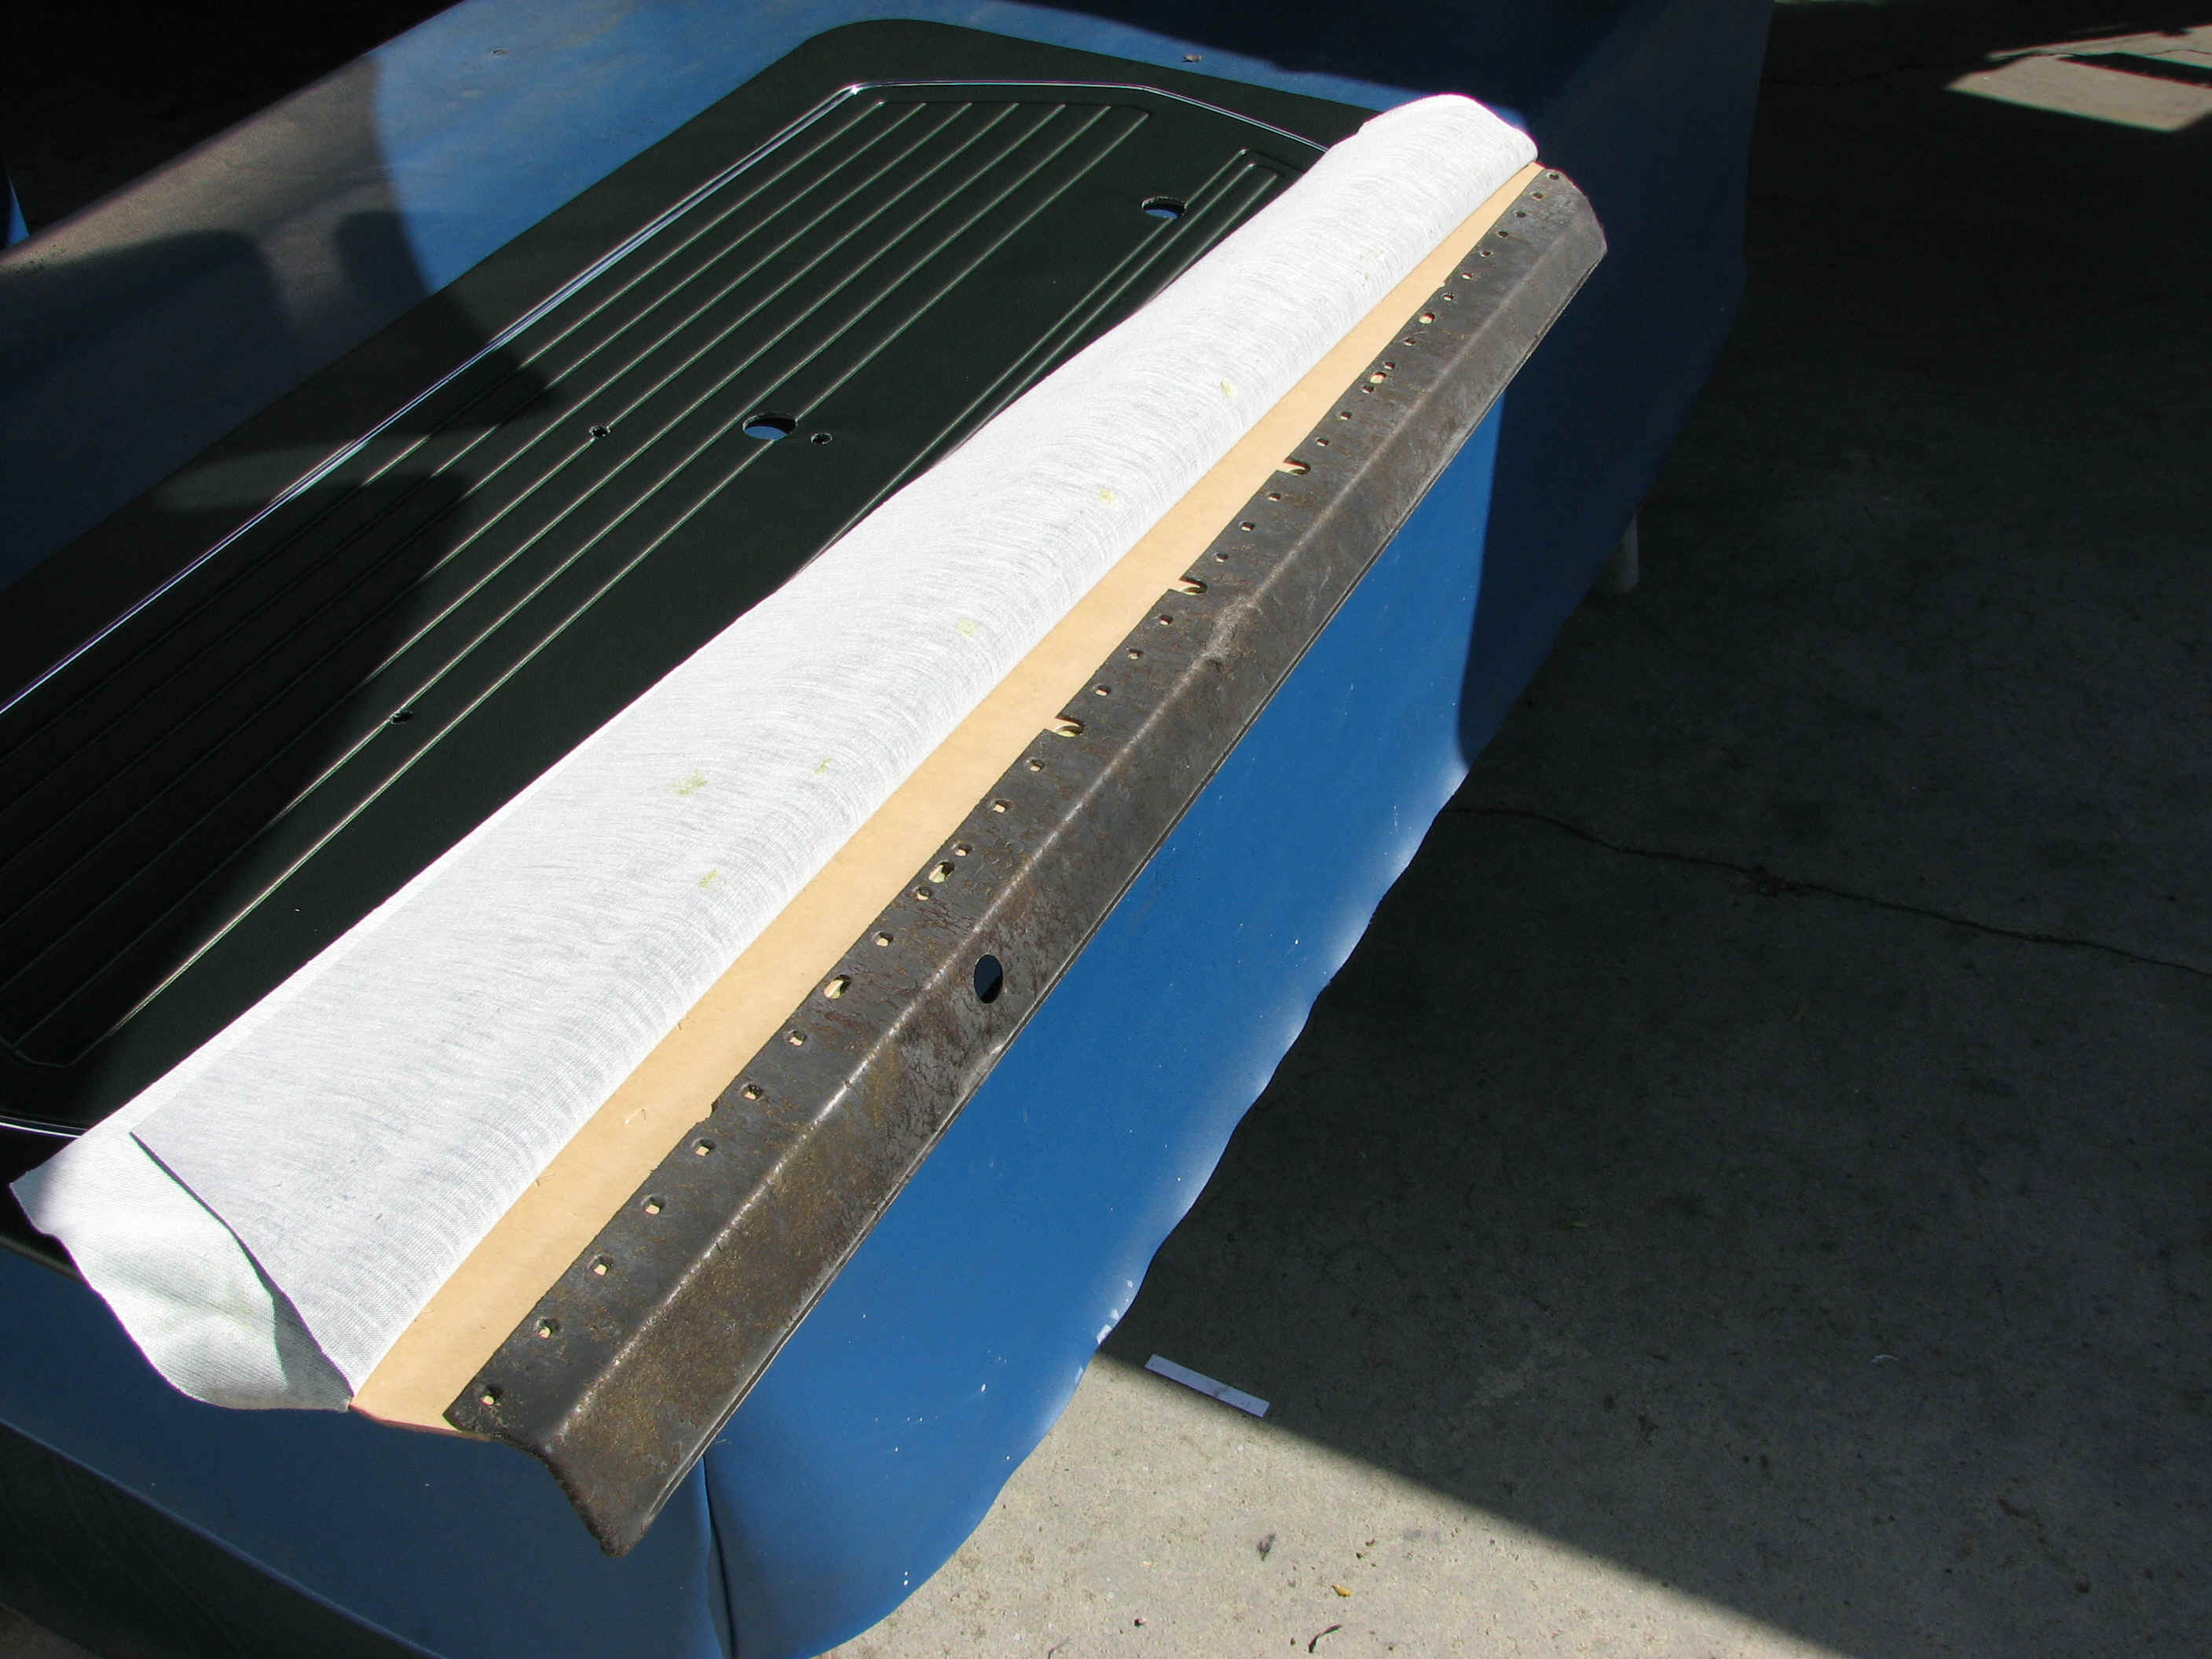
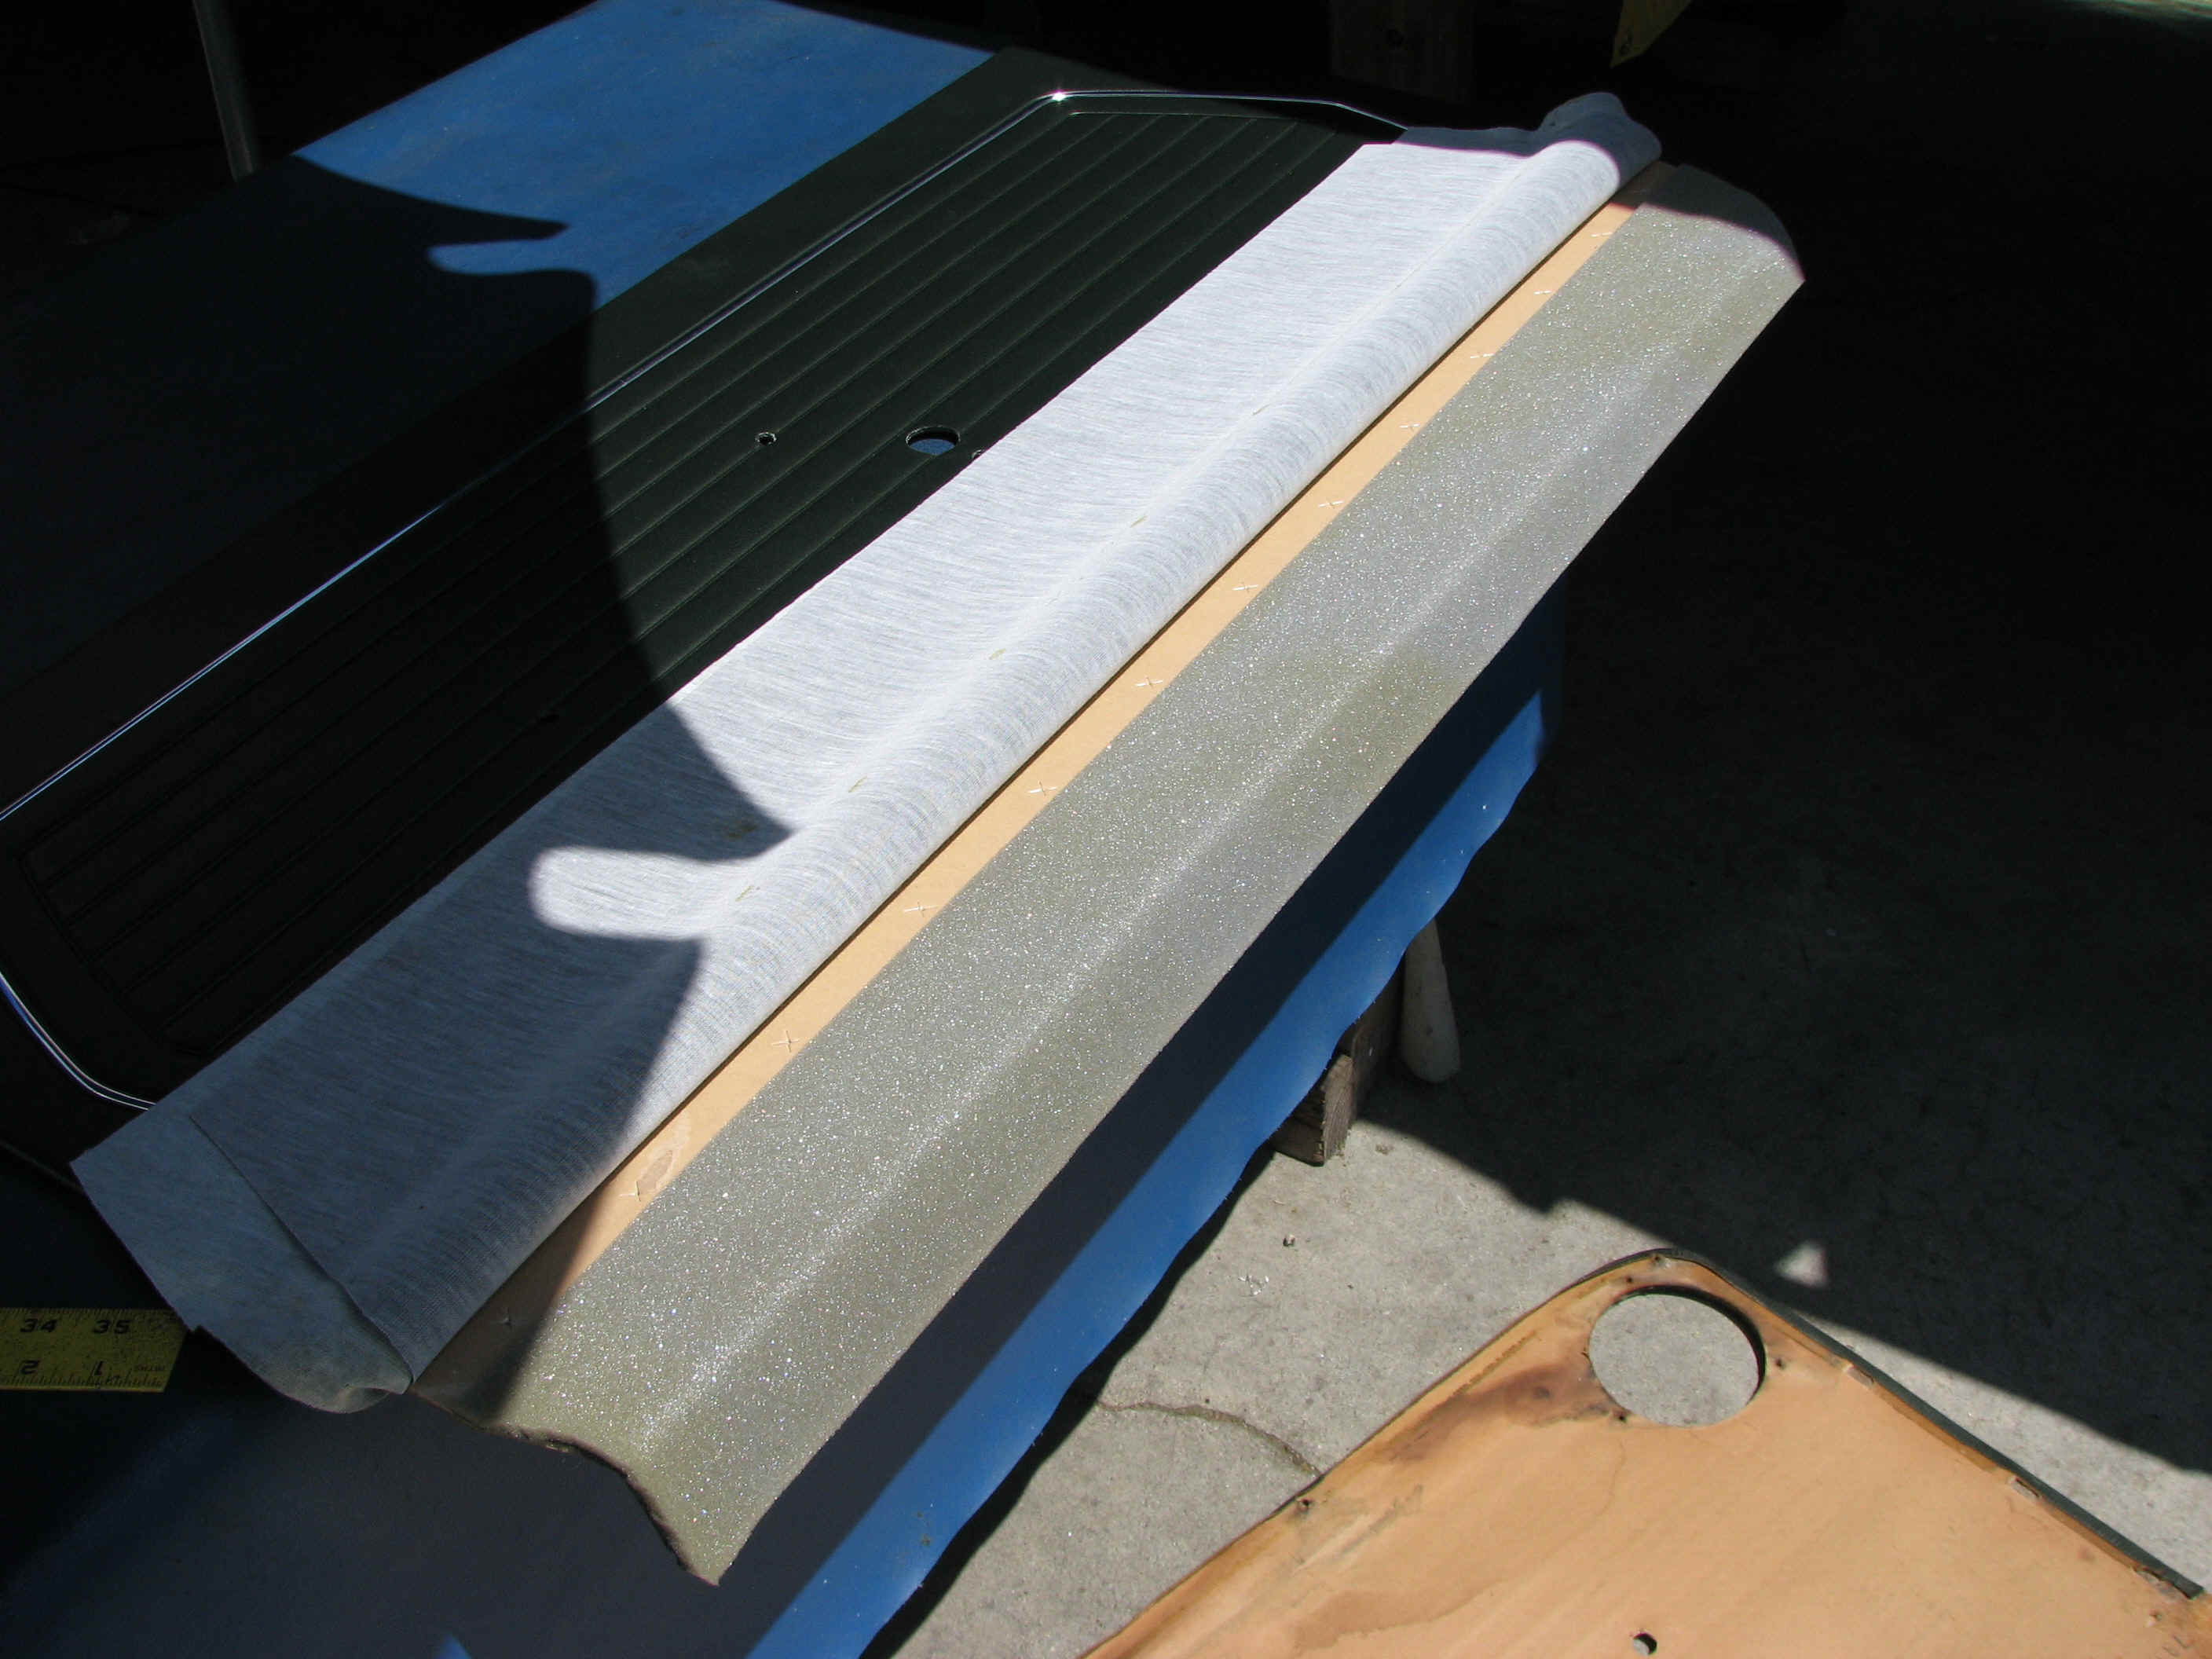
See the pictures of the Camaro Standard Door Panels get the new materials intergreated using the OEM Steel upper sections
See the finished drivers standard Z/28 Doorpanel up the page
1st you have to use a angled tool to bend the original staples OSBORNE TOOL #120 1/2
You have remove the original upper panel and reset the pressed daggard holes using a angled set of pliers when doing by hand
this means you have to turn the tips up so the pre punched holes will puncture the new panels giving a tight fit.
After you get this removed you have to clean the upper metal panels with Solvent to remove the glue (we use Kent Acrysol)
then use a light acid that wiil remove the surface rust (Metal Prep)
then spray lite coat of sealer like (Sem Rust Shield)
You can the align the upper panel to the aftermarket assembly doorpanel, using the notches and marks
Next apply glue to the doorpanel base board and the metal , using a heavy weight hammer to stamp the metal to into the panel, by hand doing strokes like a roman makes his sword, hard and even to get a smooth feel of the new hand sealed upper section
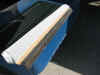
Adding the foam pad that the aftermarket company did not include with the kit
You have to hand cut the 1/4 inch foam to size with angle the cut to edges
|
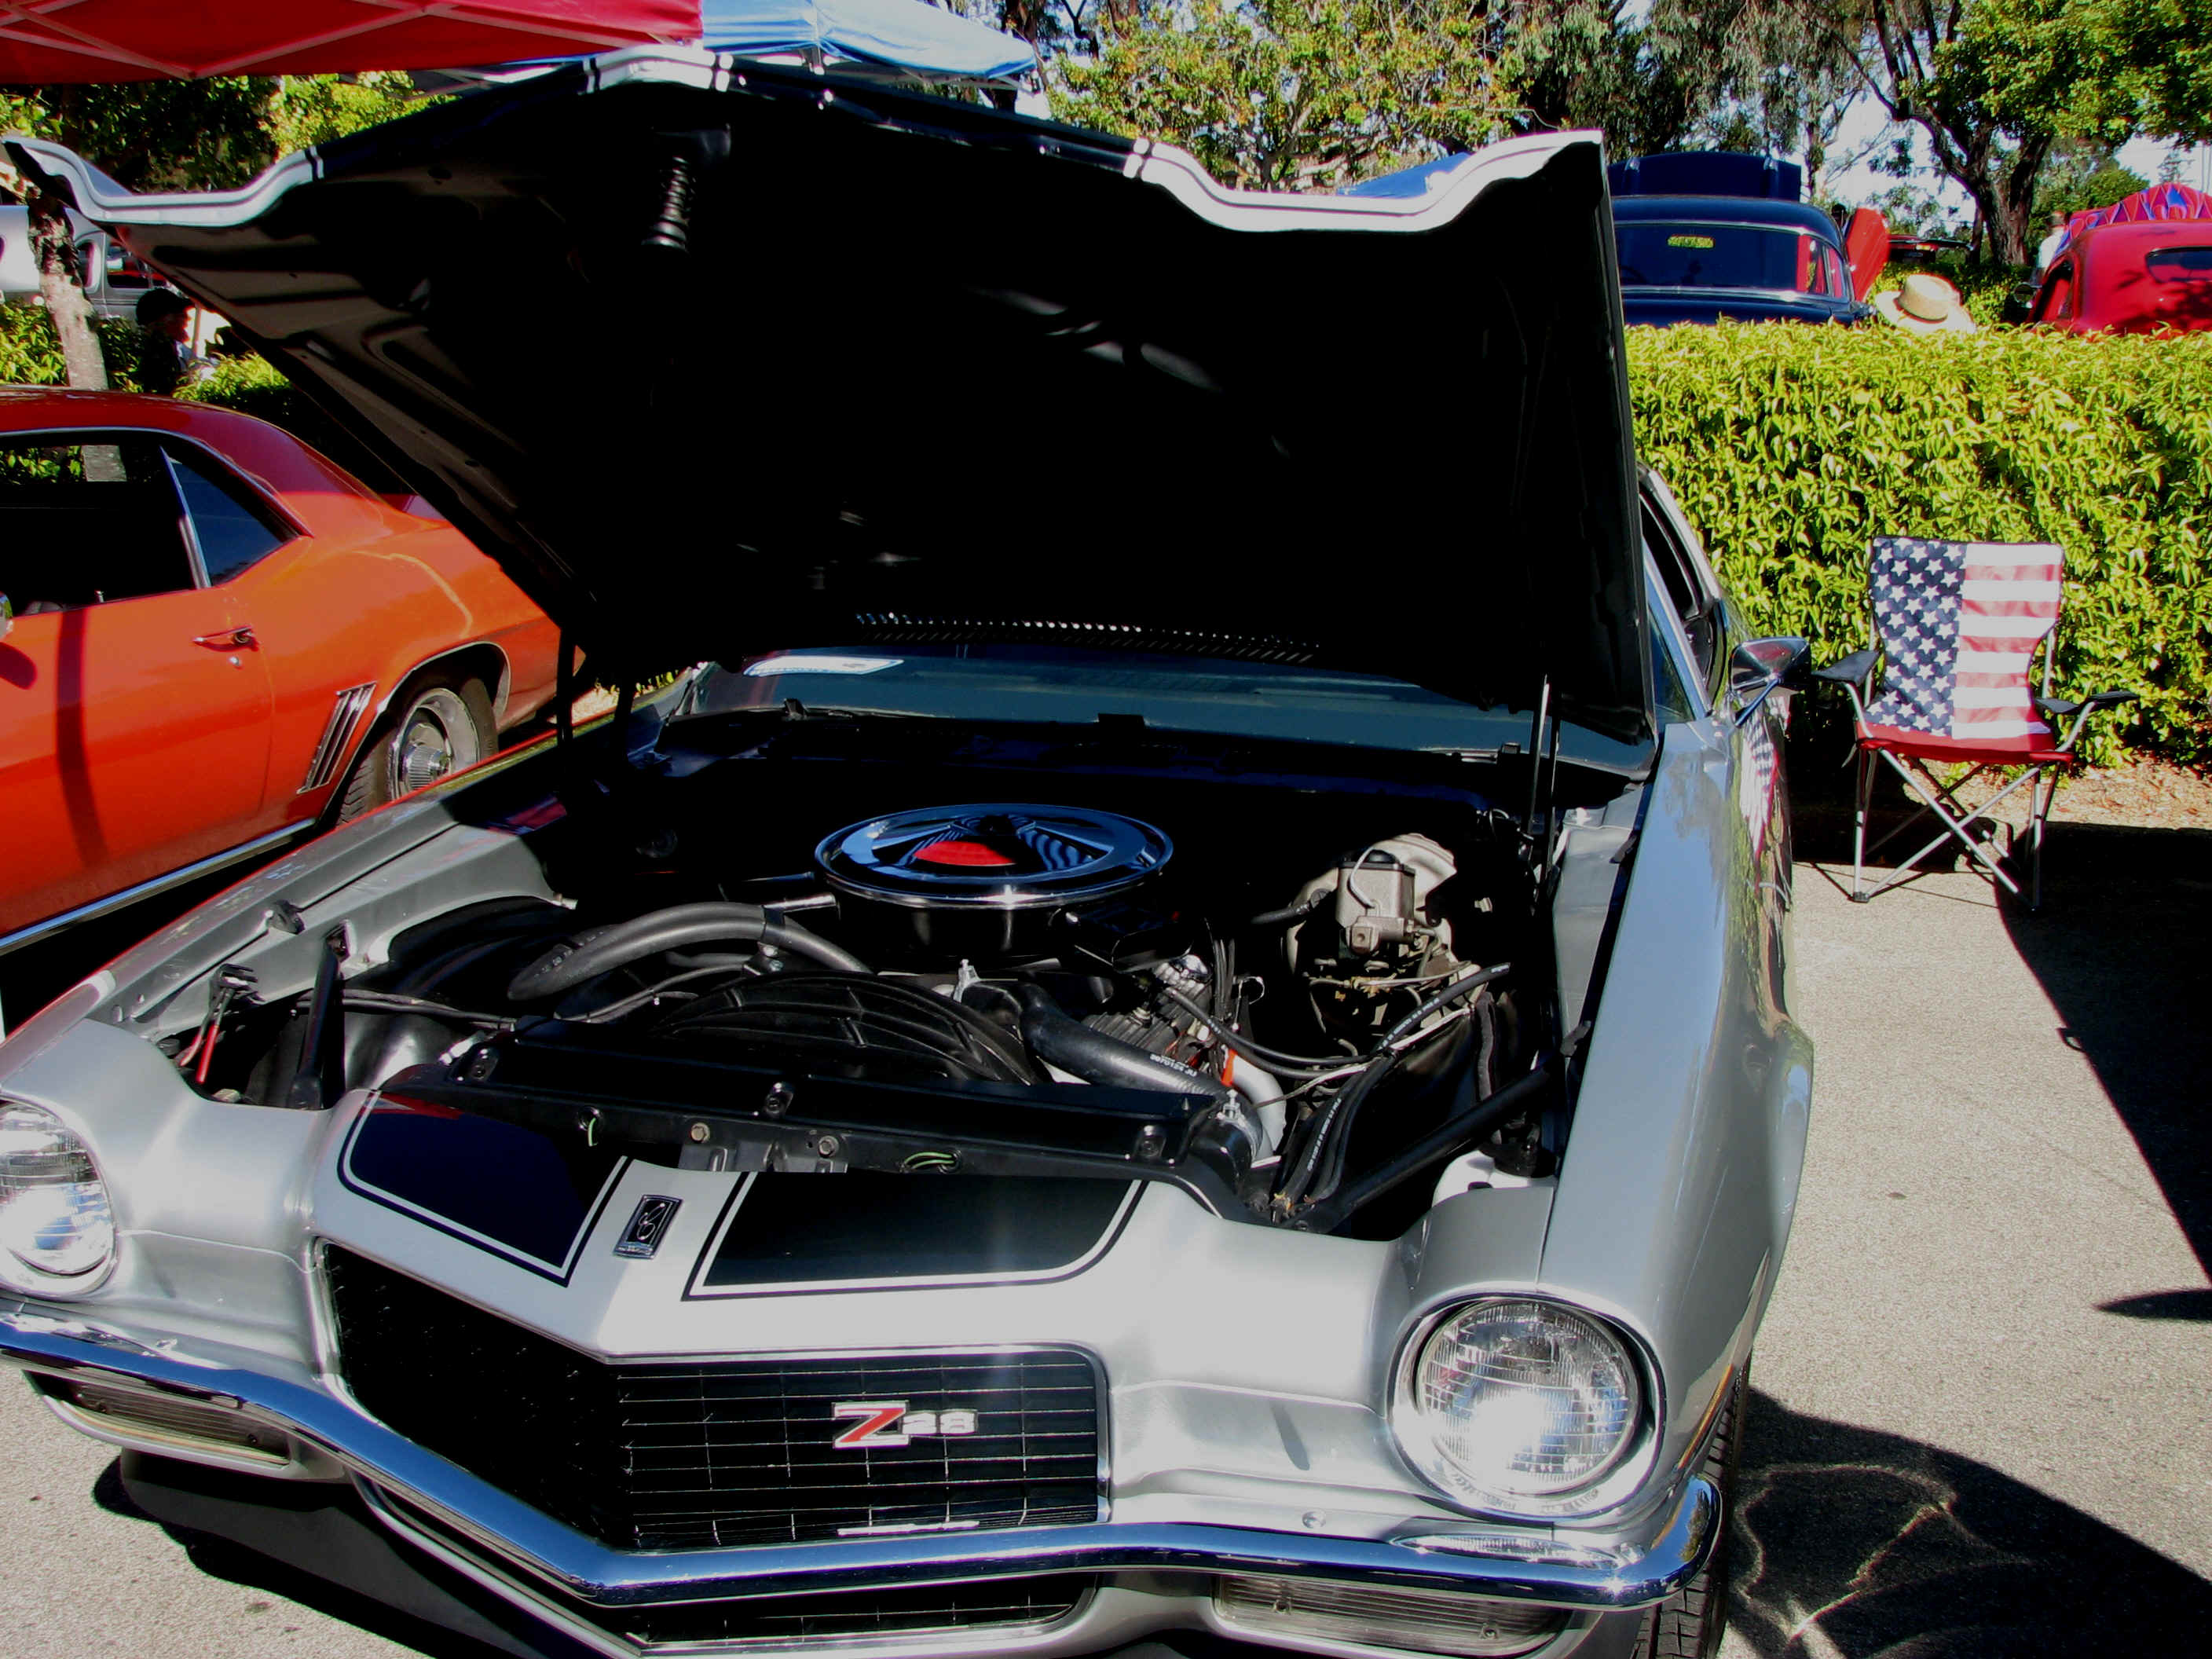
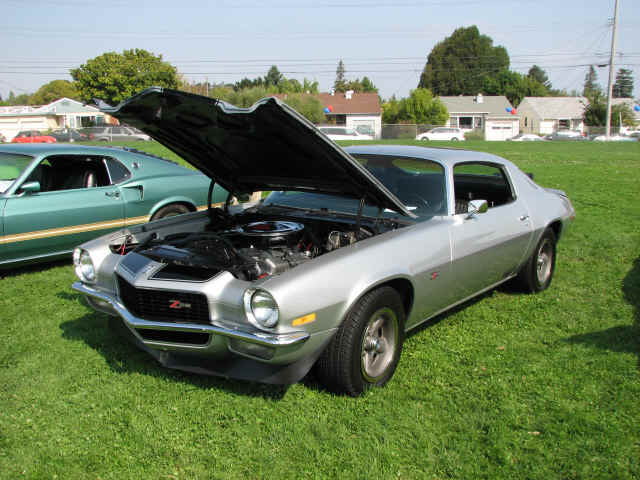
New Z/28 Project
1970 Silver Z28 Camaro for Chris Patane

Headliner will be installed with pics showing as we remove the OEM headliner and replce the seat covers!
Want your Z/28 interior restored so you can enter in a Concours or local Car Show?
find your interior kit on the net
Also we do basic upholstery labor to install aftermarket kits, seat repairs for the working car owner!
Google Links


